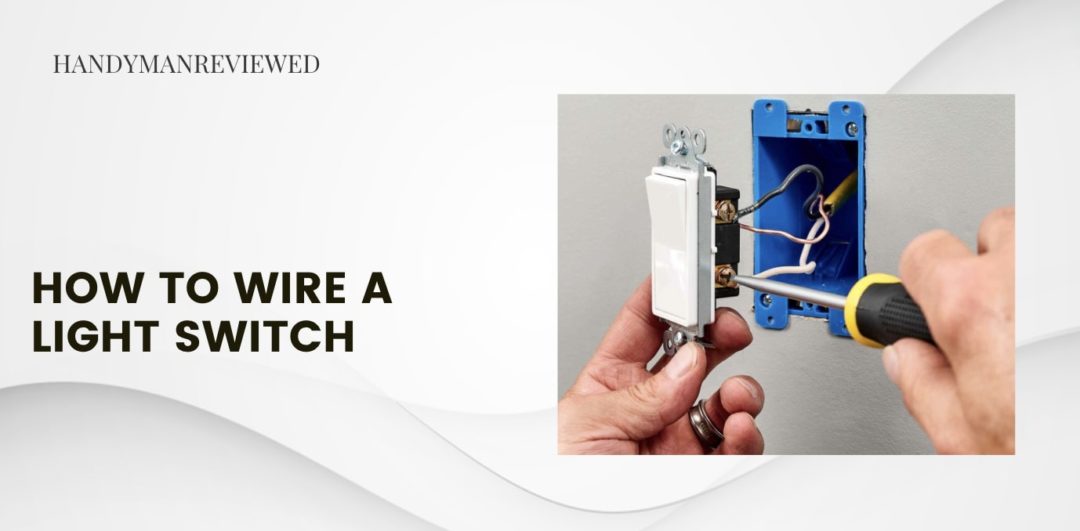
When we are faced with an electrical anomaly, it’s always safer to call an electrician to get the complex job done. However, some problems are so simple that they can be DIY’ed, and by learning how, you’ll gain technical skills and save money too!
So today’s guide is about how to wire a light switch in case your old one fails to work suddenly. Don’t worry, we’ll walk you through the entire process so you can perform the work safely and like a pro!
1) Prepare the tools you need
Here are the tools you need to get for wiring a light switch:
- New light switch
- Electrician’s pliers
- Screwdriver
- Voltage detector
2) Turn off the breaker
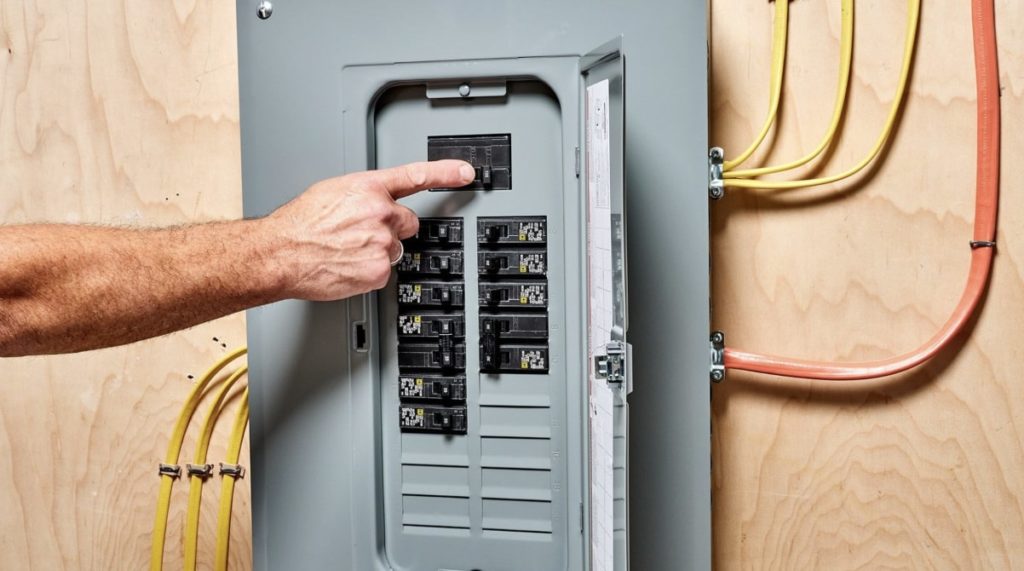
Safety first so before you remove the switch casing and meddle with the parts, turn off the power for the room on the breaker. In addition, use a voltage detector in the open switch area inside the casing to ensure no electric current is flowing.
3) Take out the switch
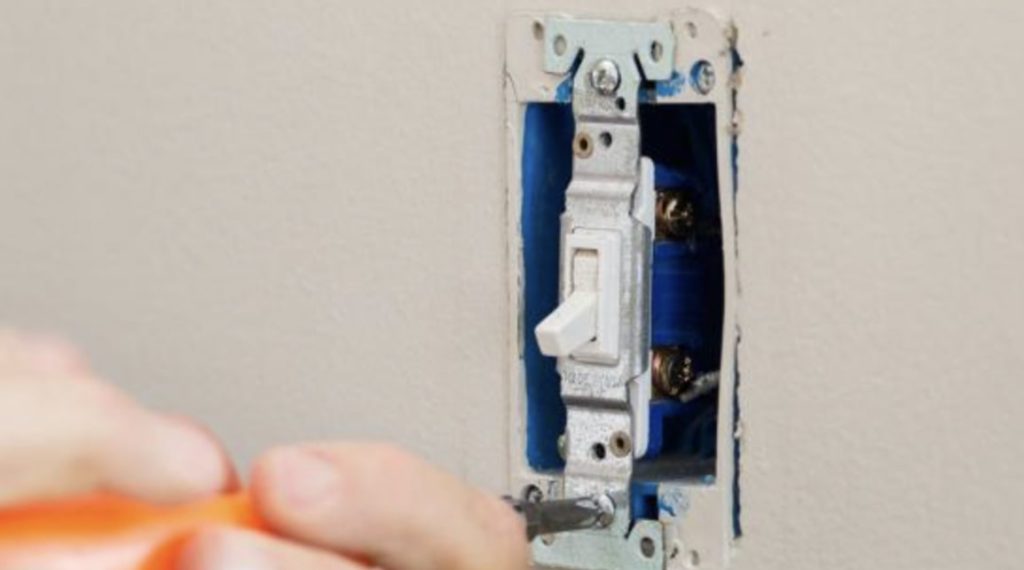
If no power is present, you can already remove the switch. Use your screwdriver to loosen its screws and then pull it out.
Since the switch is still attached to the wiring, just leave it dangling on the side.
4) Detach the wires
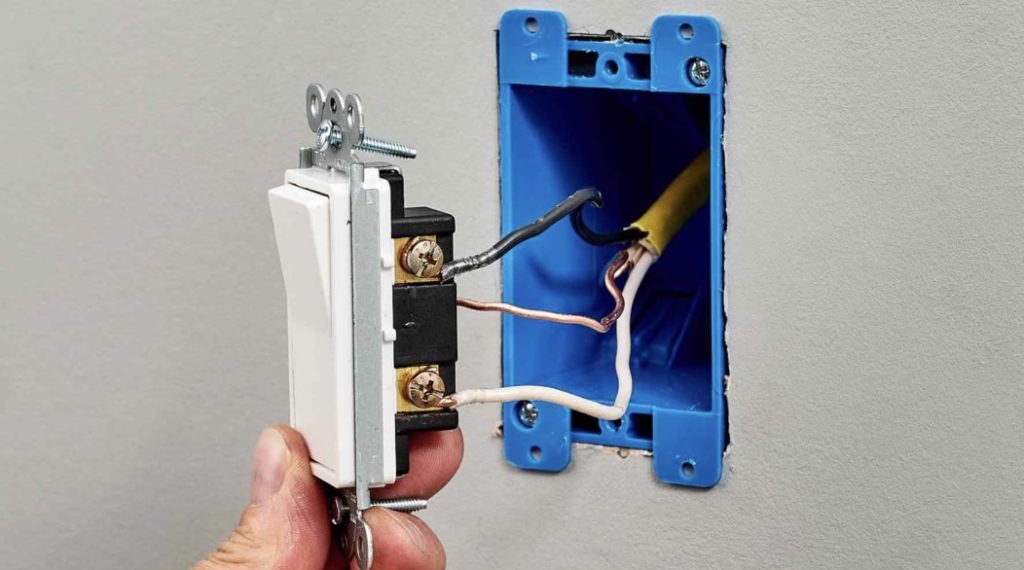
You can now see three different wiring colors attached to the screws. There should be a white, black, and copper wire—the third may not be present in older houses.
Loosen the brass screws from which the white and black wires are connected. These wirings get hot when the switch is open.
Afterward, unwind the screw of the copper wire and dispose of your old switch.
5) Install the new switch
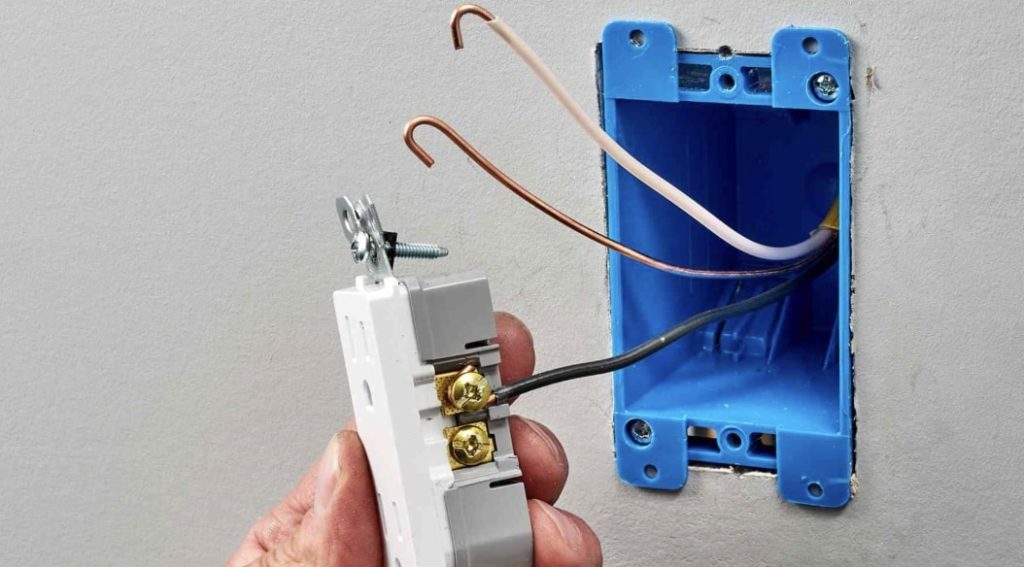
For this step, you have to remove the wire’s end, bend the exposed wires into a U-shape, and wrap them around their respective screws.
Follow the directions below in order to complete this:
First, each wiring end should have a half-inch of exposed wire. Using your electrician’s pliers, slice and remove the end part of the wire and then bend it into a U-shape.
After that, wrap the white and black wire clockwise onto their respective brass screws and tighten the screw with a screwdriver. Do the same for the copper wire onto the green screw.
By the way, the direction is clockwise because when you tighten the screw, these wires also tighten, allowing the switch to work.
Once you’re done, that’s it, your new light switch is now installed and wired.
6) Attach the new switchplate
Set the new switch and its wiring in place and level. Then attach the new switchplate and tighten its screws (don’t overtighten it because this can damage the switch cover).
7) Test your new switch
At last, activate your breaker system and test out the new switch you have installed. If it works, congrats, you’ve done an amazing job!
See? You didn’t even need to call a handyman or electrician at all!

