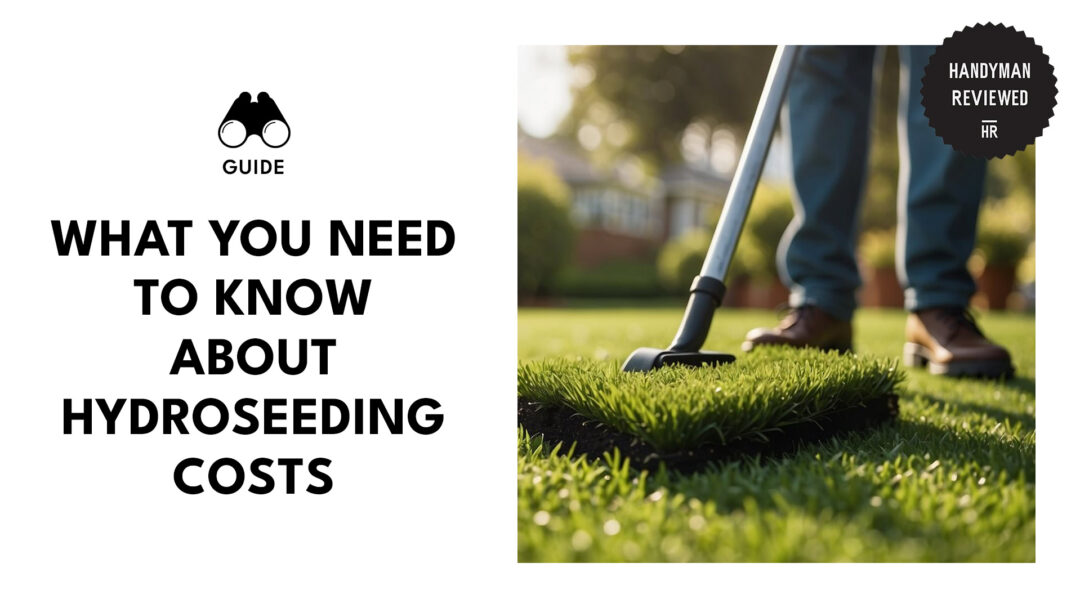
Bald spots on your lawn are never a good look for your home, which is why I always rely on a gardening method called hydroseeding. This method gives you a polished lawn (well, along with a good landscaping service, at least) that you’ll look forward to looking at all day.
Usually, homeowners shell out around $1,800 for hydroseeding services. That includes the labor and the special mixture used.
Sounds like a lot, but believe me, it’s cheaper in the long run. I love looking at my home when the lawn looks like a cutout from a home improvement magazine.
From the benefits to the cost hacks, here’s what you need to know about hydroseeding and why you should definitely do it.
What is hydroseeding?
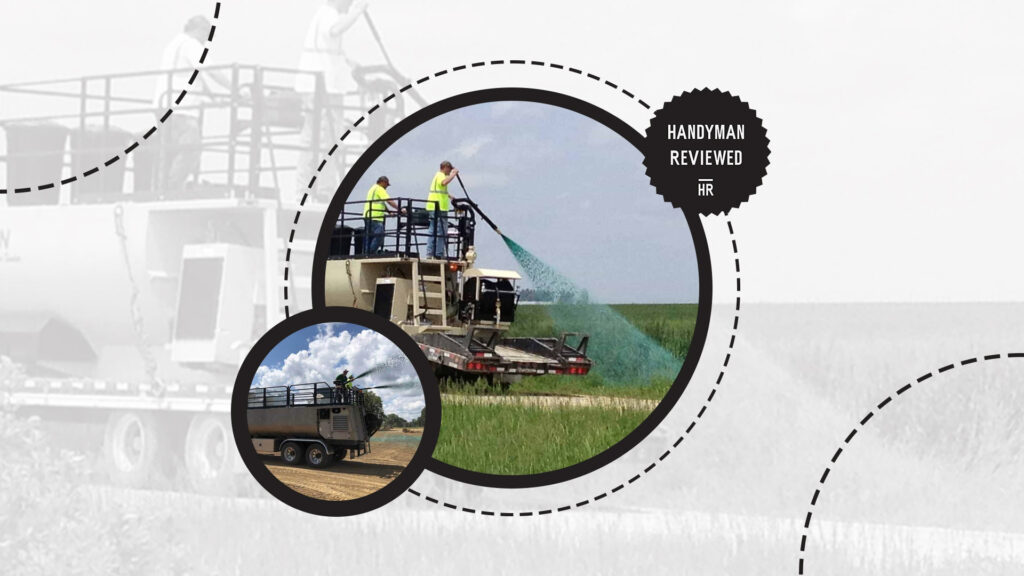
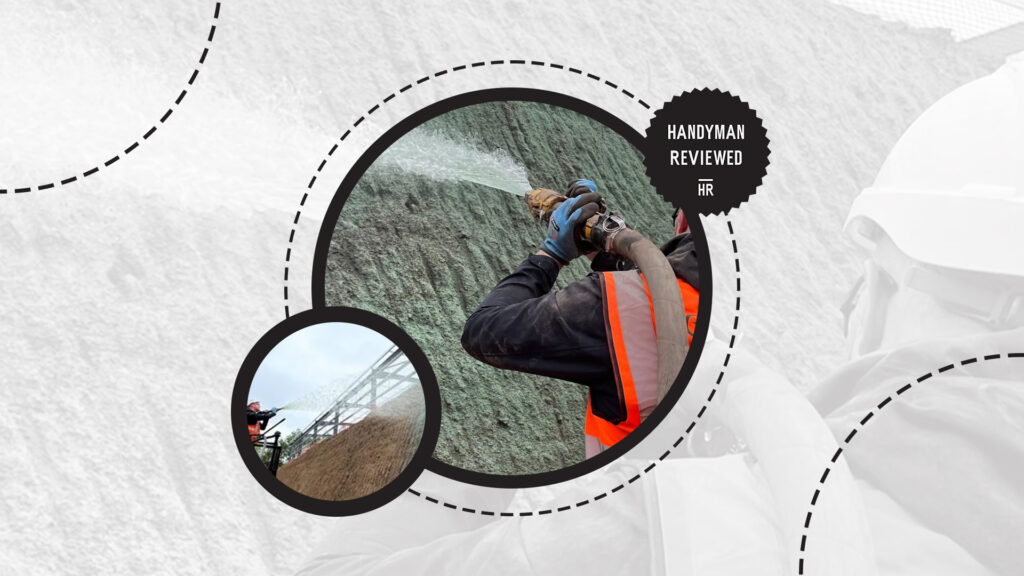
Hydroseeding is a smart planting method that sprays a slurry of seeds, mulch, water, and fertilizer into the soil. It’s an innovative practice done for professional landscaping, managing erosion, and restoring vegetation.
Its convenient planting process covers more ground faster and more evenly. Here’s how it works:
- Clearing: The pros clean up the area before they start the planting process. They remove debris and large obstacles so they can cover more area.
- Mixing: Here, a professional combines an ideal amount of seeds, water, mulch, fertilizer, and sometimes, some binding agents.
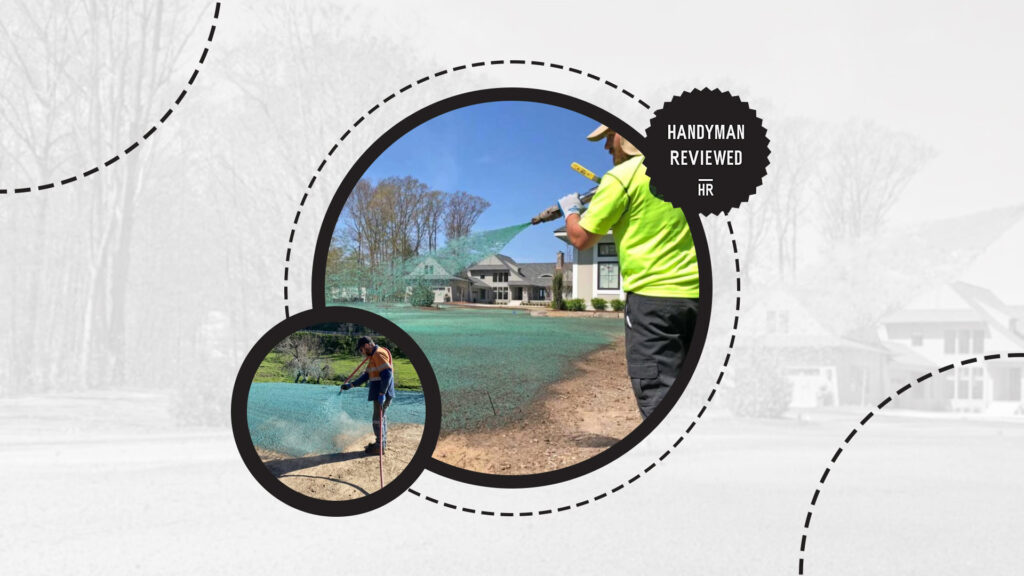
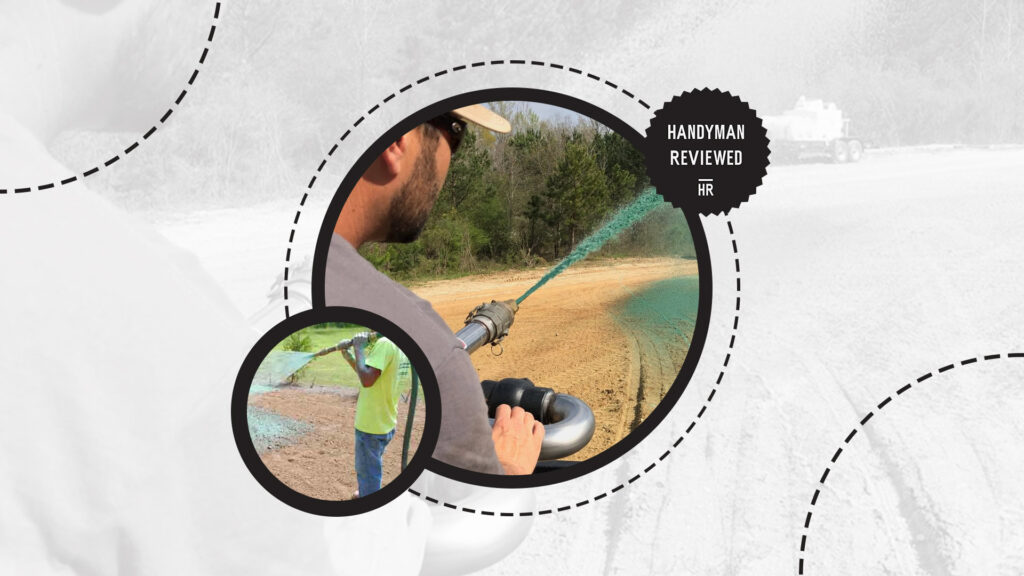
- Planting: After mixing all that goodness, the experts then proceed to spray the mixture on the area with a nozzle. It looks like paint on the soil, but I assure you, it’s not. It’s a harmless colorant that ensures all grounds are covered.
- Germination: Combined with good mulch, these seeds act as a cozy home packed with essential nutrients to ensure growth.
Benefits of Hydroseeding
Hydroseeding offers many benefits such as the following:
- Improved Soil Quality: Since the mulch in the hydroseeding mixture is thick, it holds together loose soil and stabilizes it. According to the National Institute of Disaster Management in India, soils that had hydroseeding retain moisture better and support the soil structure.
- Efficient Application: Hydroseeding utilizes a tank filled with slurry and a nozzle so professionals can evenly spray the solution into the soil. They cover areas efficiently, cutting back on the time and effort in the planting process.
- Versatile on Different Terrains: This method can be used on different terrains, such as slopes and hillsides. It has been used as an erosion control method because of its convenience and accessibility.
- Faster Plant Growth: The mulch and added fertilizer are packed with nutrients every seed needs to grow, ensuring quicker and healthier growth.
- Eco-Friendly Solution: Hydroseeding slurry solutions only use organic and biodegradable materials, even if the outcome looks oddly saturated in color. Aside from that, it also disrupts soil not as much as sod installation.
- Cost-Effective: There’s less manual labor when hydroseeding is involved, so there’s less cost in terms of manpower. In the long run, hydroseeding requires lesser maintenance compared to traditional planting processes.
- Customizable Seeds: Since hydroseeding is customizable—from fertilizers to seed varieties—you can choose what plants you want. There’s a wide selection of grass species and stunning wildflowers you can choose from.
Factors That Affect the Cost of Hydroseeding

Since each property is different and unique, prices are also personalized according to your needs. Make sure you go over your plans and discuss the perfect budget for your lawn improvement, you don’t want to get shocked after getting the bill!
Here are some factors that will affect your hydroseeding costs:
Size
Other companies charge on an hourly basis if the area is less than 500 square feet. The minimum service fee is at least $300 to $500 for hydroseeding.
Slurry Mix

A hydroseeding slurry mix is a combination of water, seeds, mulch, fertilizers, tackifiers, and sometimes, soil amendments. Here are the prices for the slurry mix broken into its components:
Aside from these, 5 pounds of good tackifiers can set you back around $40 – $45. It’s entirely dependent on the area you want to be covered, that’s why you need to consult a professional before getting one.
Terrain
Slopes and inaccessible terrains are high erosion risk and might be subject to extra charges. These locations require to be sprayed twice to ensure that the seeds grow healthy and won’t be washed off during heavy rainfalls.
Preparation

Depending on your property and its size, you need to do some preparation before the hydroseeding process.
Here is the price list per service:
Weather

Extreme weather conditions, such as heavy rainfall and snow, can cause delays in the hydroseeding plan. This would mean extra materials and labor would be needed to keep the seeds protected and ensure growth.
The best way to save a few bucks caused by weather-related delays is to consult your trusted hydroseeding service and have a flexible schedule. They usually have a plan for you and know more ways to work through the problem.
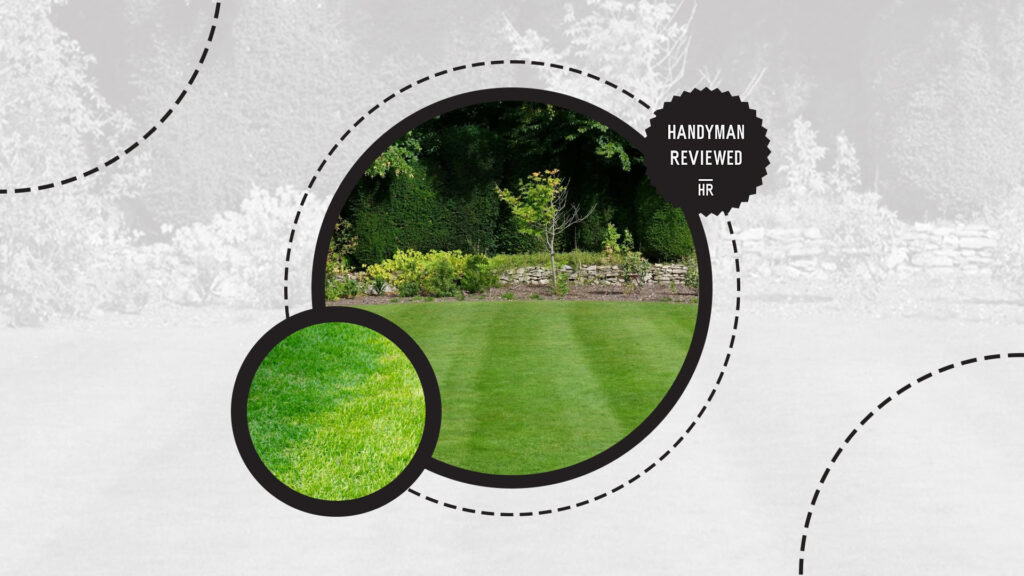
Hydroseeding Maintenance
After doing hydroseeding, you now move on to the other daunting task—maintenance. While most of the tasks can be done with your gardening tools and resources, professionals are still a better choice if you want the grass to grow beautifully.
The First 2–3 Weeks
This is the cost of services during the first weeks of hydroseeding:
Process:
- Watering: It’s important to water the newly treated area until moist but not soggy. Watering it 2–3 times a day is the best practice to ensure seed establishment. The best times? Pick the coolest hours of the day to water your lawn for the best effects.
- Protection: At least for these first weeks, keep the area off-limits. That means no stepping on the treated lawn. I highly suggest adding barricades to keep kids and pets off.
- Erosion Check: Keep an eye on slopes and hillsides for signs of erosion. If there are, you need to add more mulch or go for another round of hydroseeding.
The Following 3–8 Weeks
This is the cost of services during the third to eighth weeks of hydroseeding:
Process:
- Watering: You can lessen the frequency of watering the area to promote better root growth. Ideally, you should go for 1 inch of water weekly when you water your lawn.
- Trimming: Start mowing when the grass is about 3 to 4 inches tall. Set your lawnmower to its highest setting and ensure the blades are sharp for a clean cut. This avoids stressing the fresh grass.
- Weeding: Whenever you spot weeds, make sure you yank it off your hydroseeded lawn. Don’t use any weed chemicals or herbicides until the grass is more settled.
The Long-Term Care Routine
This is the cost of services for long-term hydroseeding maintenance:
Process:
- Watering: At this time, you need to water more infrequently to coax the grass roots to grow deeper. You would have to adjust the watering frequency according to the weather and the soil condition.
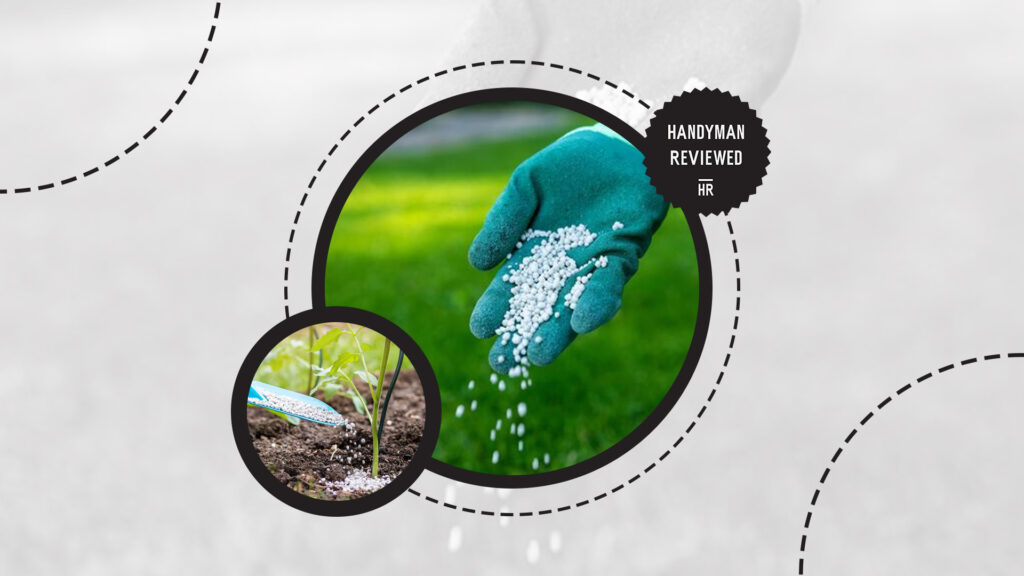
- Fertilizing: Add the recommended fertilizer suggested by your hydroseeding service company after 6 to 8 weeks.
- Trimming: Cut the grass according to the ideal height for its specific type. Don’t get too carried away and shave off more than one-third of its height.
- Aerate: Go over your treated lawn and aerate it with a machine or a tool to support root growth.
- Checkups: Check the area properly for signs of pests and diseases and treat them quickly once found.
Should I DIY hydroseeding?
You can DIY hydroseeding if you have a green thumb and a lot of time to spare. However, don’t DIY if you’re busy (like me, I have children) and would rather have professionals do your lawn.
DIY hydroseeding has its own set of pros and cons. While there’s more to it than just cutting back costs and effort, there’s more information you need to consider:
Pros
- Economical: Buying the materials and renting the hydroseeding machine can save you some money. While the costs can still depend on the size of your property, it’s still significantly cheaper than hiring professionals.
- Efficient: You have full control over the hydroseeding project, so you can cover important areas quickly and at your convenience. Scheduling a professional visit might take time and will be dependent on their availability.
- Customized: Since you’ll be mixing your slurry, you can combine different grass seeds and wildflowers of your preference.
Cons
- Inexperience: Unless you have significant experience in hydroseeding, there will be mistakes along the way. There’s a possibility you’ll waste products and create the wrong slurry that won’t fit your property’s terrain.
- Costly: Yes, hydroseeding at first can be cheap but making the wrong slurries and certain environmental conditions can affect the grass germination. This would mean you have to redo it until the growth is more stable.
- Time-Consuming: Maintaining the lawn after the hydroseeding might demand more of your time and attention. Sometimes, certain factors are overlooked that will slowly damage the area if left untreated (such as pests, diseases, and waterlogged areas).
Cost-Saving Hydroseeding Tips

- Prepare Beforehand: Remove the debris, rocks, and weeds on the surface to ready the soil. Hydroseeding works better when the area is cleared and graded (use your standard rake to flatten the area, or a tractor if you’re fancy) before starting.
- Fertilizer Application: Before buying your fertilizer for the job, check the results of your soil test to get the best one. Make sure you don’t apply too much, or it will do more harm than good. Ideally, an organic fertilizer is what you need.
- Picking the Best Time: The perfect time depends on the grass seeds you prefer. There are some seeds, like cool-season varieties, that should be planted in early fall or spring. Warm-season ones would thrive more in late spring to early summer.
- Planning Out Water Usage: Smarter water planning can greatly affect the cost of your hydroseeding project. Timed sprinklers or drip irrigation will ensure that the soil is moist without the need for professionals.
- Bulk Purchasing: Buying in bulk can give you big discounts, so make sure you get all your slurry ingredients in large numbers. It also helps if you keep an eye out for sales and discounts.
- Skip Premium Products: Not all products that are ‘special’ or ‘premium’ are always better than the others. There are affordable, good-quality ones that can produce the same results at half a price.
- Find Interested Neighbors: Joining forces might be a savvy solution to your hydroseeding project. Share costs on rentals, materials, and other equipment to save a few bucks.