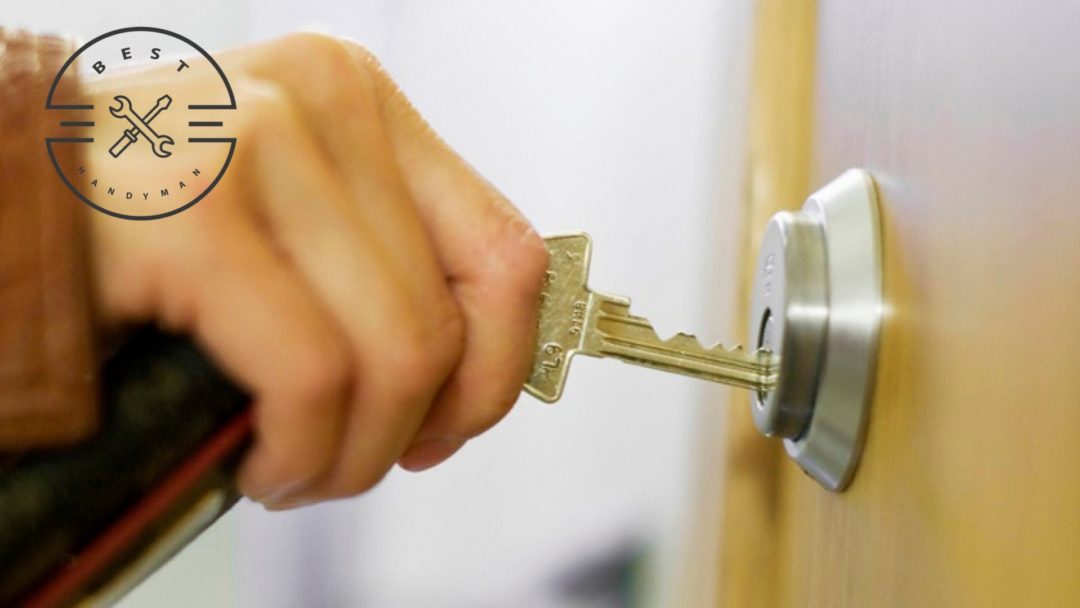
As homeowners and business owners, keeping our properties safe from intruders and unauthorized entries is one of our biggest worries. Hence, it’s important that we employ more than just door knob locks for our exterior doors.
Keyed deadbolts are among the most popular security systems employed by property owners to protect themselves against break-ins. These deadbolts come in two different types and three different grades, so choosing the right one for you might get confusing.
In this article, we’ll discuss the two different types of keyed deadbolt, their benefits and drawbacks, their cost, and the best type and grade lock to use for your property. We’ll even teach you how to install one to make sure your property is as secure as possible.
Types of Keyed Deadbolts
Single-Cylinder Deadbolts

Single-cylinder deadbolts are the most common keyed deadbolts in residential homes. These keyed deadbolts include a single-sided locking mechanism that may be operated by either the key or the knob.
This means you can just turn the knob to lock or unlock the door inside the house, and the key is only needed when entering the home.
Single-cylinder deadbolts offer a more convenient locking system, as they can be easily locked and unlocked inside. It’s also safer when there’s an emergency and the occupants need immediate evacuation.
Moreover, they’re usually more affordable than double-cylinder deadbolts since they only use a single key cylinder. The cost to install, though, for both types is the same, as the installation process isn’t that much different.
The only drawback is they offer reduced security compared to double-cylinder deadbolts. They can be easily unlocked by intruders if there’s a glass panel or window near the door.
Double-Cylinder Deadbolts

A double-cylinder deadbolt has a key slot on both sides, which means you’ll need a key to lock or unlock the door whether you’re entering or leaving the house.
They provide more security than single-cylinder. Its double-locking mechanism adds an extra layer of protection against intruders because it can’t be unlocked through windows or glass panels.
Despite the increased security it offers, there are still significant drawbacks that you have to consider. They pose potential safety risks during emergencies like a fire, as you’ll have to locate the key first and unlock the door before you can escape.
Due to this safety risk, some cities don’t allow double cylinders, so be sure to check your city’s regulations and fire codes before purchasing one.
They’re also quite inconvenient to use since you always need to have a key when entering or exiting the house.
Which keyed deadbolt should I use?

A single-cylinder keyed deadbolt is typically sufficient for most residential properties and businesses, but there are still some situations where a double-cylinder keyed deadbolt might be needed.
Properties where double-cylinder deadbolts might be needed include those located in cities where there’s a high crime rate, those that store highly valuable assets, and rental properties.
Moreover, if there’s a small glass pane or window near your door, a burglar may be able to turn the knob after breaking the glass, so a double-cylinder lock might be a great idea.
However, if the glass is big enough for a person to fit in, a double-cylinder may be unnecessary, as they can still break in through the glass even without opening the door.
Additionally, if the glass or window is tempered or double-glazed, it will be quite hard to break, so a single-cylinder is sufficient.
In any situation, though, where a double-cylinder deadbolt is used, be sure to create a different escape route for emergencies.
What grade lock is best?

Locks are classified into three different grades assigned by the American National Standards Institute (ANSI). These grades tell you how to secure a specific lock or deadbolt.
An ANSI Grade 1 deadbolt is the best lock grade for business while an ANSI Grade 2 is best for residential homes.
ANSI Grade 1 deadbolts can withstand 10 hammer blows of 75 pounds and 250,000 open and close cycles, so they’re best for properties that store a lot of valuable assets like businesses.
ANSI Grade 2 locks, on the other hand, can withstand 5 blows of a 75-pound hammer and 150,000 open and close cycles, which are enough to secure most residential homes. Some businesses also use this as locks for their interior doors.
If you only have ANSI Grade 3 deadbolts, consider upgrading as these provide the lowest level of security among deadbolts. They can only withstand 2 blows of a 75-pound hammer and 150,000 open and close cycles.
Grade 3 deadbolts offer very limited protection, so it’s highly suggested not to use them on exterior doors.
Cost of Keyed Deadbolt

There isn’t much difference between the cost of single-cylinder and double-cylinder keyed deadbolts. Single-cylinder can typically cost $20 to $70, depending on the brand and grade level.
On the other hand, double-cylinder keyed deadbolts cost $40 to $80 on average, depending on the brand and level of security.
How to Install Keyed Deadbolts to Exterior Doors

STEP 1: Determine where you want to install the deadbolt

Deadbolts are typically installed 6 to 12 inches above the doorknob. Use your tape measure to mark the area where the deadbolt will be installed.
STEP 2: Mark the deadbolt site

You’ll find a template on your deadbolt package which you can use to mark the exact site where the deadbolt will be installed on the door.
The marked area will be drilled out later, so make sure that the marked location has the exact size required by the template and any other instructions written by the manufacturer.
STEP 3: Drill the area where the deadbolt will be

After marking the deadbolt site, pull out your drill and hole saw. The hole saw should be around the same size as the deadbolt to make sure that it will sit tightly on the door.
Using your drill and hole saw, drill about half an inch from the front, then move to the back and drill until it passes through the other side of the door. Doing this will prevent splintering, which can happen if you only drill from one side.
STEP 4: Drill a hole for the lock’s bolt

After the hole for the deadbolt has been drilled, the bolt hole in the door must be cut. Using your spade bit, make a hole from the side of the door until it comes through the hole you made earlier.
STEP 5: Chisel out the edge of the door for the deadbolt

Put the bolt’s faceplate in the hole you have drilled in the door’s edge and sketch it with a pencil. Carve out a 1/8-inch deep mortise in the faceplate template using your chisel.
STEP 6: Install the bolt

After making the second hole, insert the bolt there, and then use the screws that came with the faceplate to secure it to the mortise.
STEP 7: Install the key cylinder

After putting the bolt, take the key cylinder and place it so that it’s aligned with the first hole you drilled earlier. Slide the cylinder into position, and make sure that the cylinder’s tailpiece is locked in the holes of the bolt.
After you’ve made sure that the cylinder is positioned appropriately, screw it onto the door. Repeat the same process on the other side of the cylinder.
If you are installing a deadbolt with a single cylinder, make sure that the portion of the lock that contains the knob is attached to the inside part of the door.
Try locking and unlocking the deadbolt multiple times to make sure that it’s working smoothly.
STEP 8: Drill a hole in the door’s jamb

Using a felt tip pen or crayon, mark the end of the bolt and close the door. Try turning the knob or locking the bolt to transfer the markings to the jamb.
Once the marks have been transferred, open the door again and drill a hole in the markings.
STEP 9: Create a mortise for the door strike

Among the stuff that came with your deadbolt lock is a metal plate that has three holes, two for the screws and a large one for the bolt. This is attached to the door’s jamb to keep the door closed.
Position the door strike on the hole and trace around it to create an outline. Chisel out a 1/8 inch-deep mortise around the traced area to give space for the strike plate.
STEP 10: Install the door strike

Mount the door strike into the mortise and fasten it in place using the screws provided.