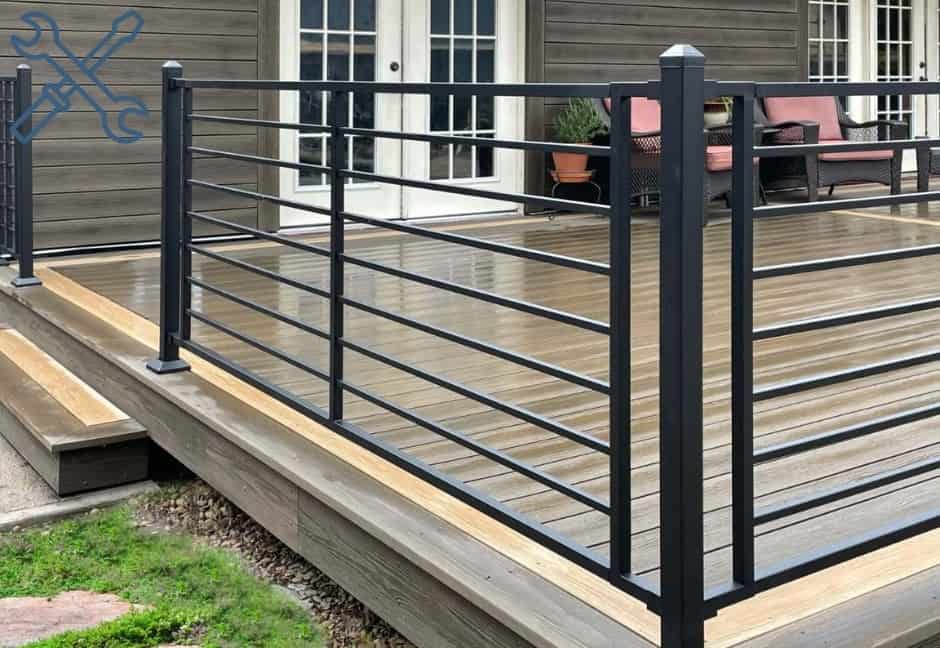
When it comes to decking out your outdoor spaces or sprucing up your indoor areas, there’s one element that often gets overlooked but packs a mighty punch—railings!
These not only provide the safety and stability you need while navigating stairs, sidewalks, or balconies, but they also bring a dash of elegance and style to your surroundings.
In this article, we will explore different types of railings, step-by-step installation instructions, and the importance of proper railing installation.
Understanding Railing Types
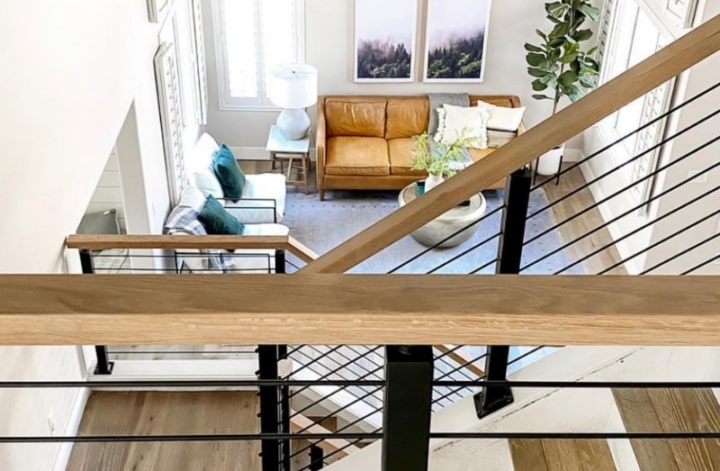
Choosing the perfect railing for your space is like finding the ideal piece of jewelry to complement your outfit. It’s all about selecting the right materials and design that harmonize with your style, budget, and environmental conditions.
Let’s take a closer look at the two main types: exterior railings and interior railings.
Exterior Railings
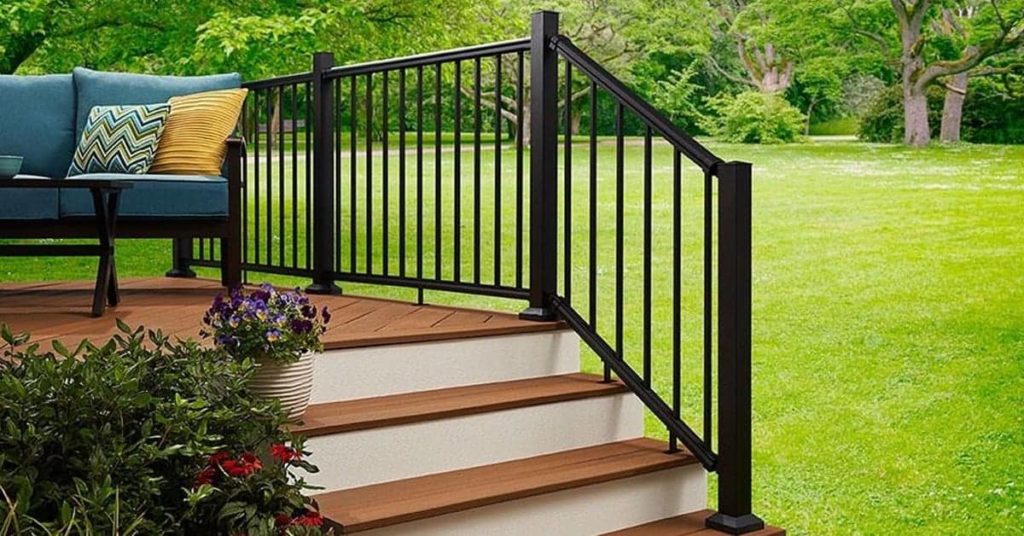
When it comes to enhancing the allure of your outdoor spaces, various materials offer their distinct charm and practical advantages. Here are some popular options for exterior railings:
Consider factors such as weather conditions, exposure to sunlight or moisture, and specific maintenance requirements when selecting the material for your exterior railing.
This ensures that your railing not only complements your style but also withstands the test of time.
Interior Railings
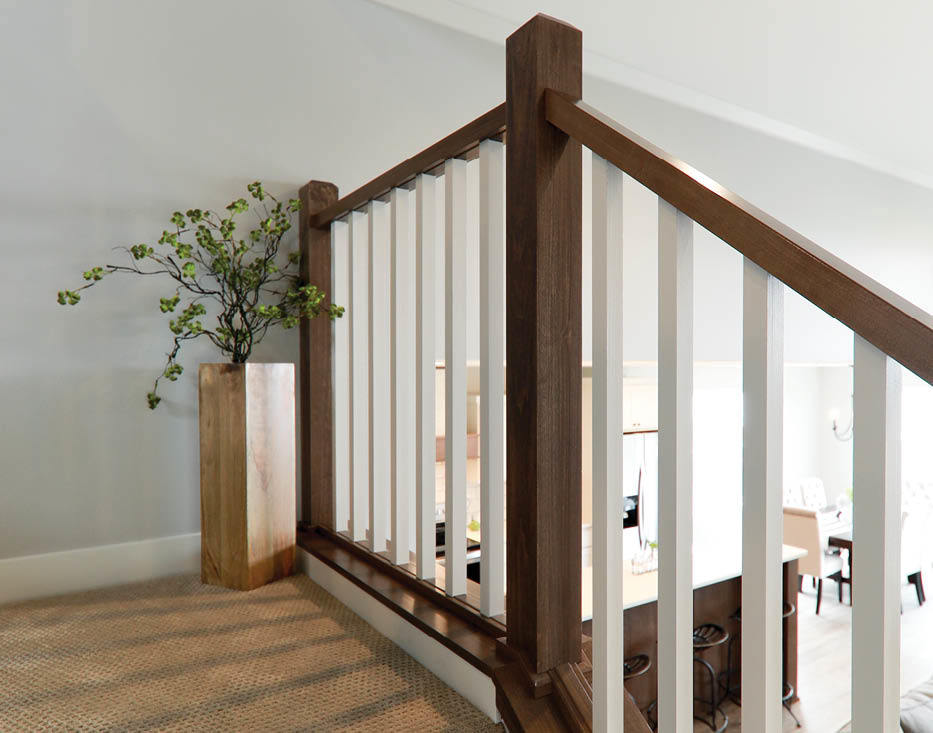
Now let’s shift our focus to the interior realm, where railing options abound, each offering a unique personality to complement your indoor spaces. Here are some popular choices for interior railings:
When choosing an interior railing, consider your overall design style, desired level of visibility, and maintenance requirements. Explore the vast array of possibilities to find the perfect railing that adds that extra “wow” factor to your indoor sanctuary.
Preparing for Railing Installation
Assessing the Area
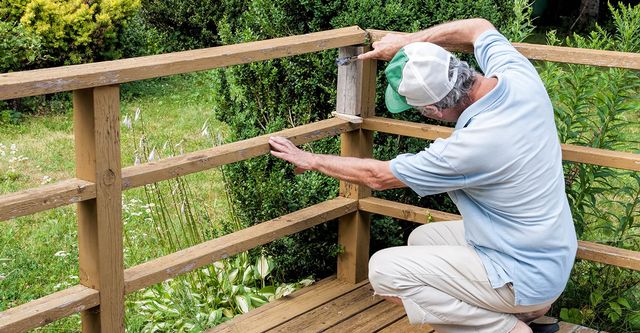
Before you break out the tools, take a moment to assess the area where your railing will soon grace. Careful evaluation will ensure that your railing fits like a glove and meets all safety requirements.
Here’s what you need to consider:
- Accurate Measurements: Grab your trusty tape measure and get to work.
Measure the height, length, and any angles or curves of the installation site. Precise measurements are crucial for a seamless and secure fit.
- Location Considerations: Is your railing intended for a grand staircase, a cozy balcony, or a charming porch?
Different locations may present unique challenges or requirements, such as additional support for a stair railing or specific regulations for a balcony railing.
Are there uneven surfaces that require leveling? Will you need to accommodate existing structures or obstacles?
Identifying and addressing these unique requirements or challenges beforehand will save you time and potential headaches during the installation process.
Gathering Tools and Materials
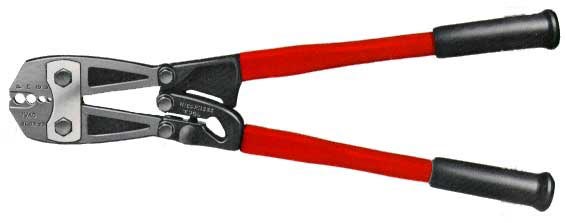
Now that you have a clear understanding of the installation site, it’s time to gather the necessary tools and materials. Equipping yourself with the right tools from the get-go will make the installation process more efficient and enjoyable.
Here’s a handy checklist of items you’ll likely need:
- Tape Measure: A trusty companion for accurate measurements, ensuring that everything aligns perfectly.
- Level: A level ensures that your railing is installed straight and level, avoiding any unsightly tilts or imbalances.
- Drill: A power drill, complete with appropriate drill bits, is essential for creating holes and securing the railing components.
- Screws or Bolts: Select screws or bolts that are appropriate for your railing and mounting surface. Make sure they are of high quality to provide reliable support.
- Brackets: Brackets are often used to secure the railing components and add structural stability. Choose brackets that are suitable for your specific railing system.
- Post Anchors: Post anchors provide a solid foundation for attaching posts to the ground or other surfaces. Ensure that the post anchors are compatible with your chosen railing material.
- Railing Components: Depending on your chosen railing style, gather all the necessary components, such as posts, balusters, and handrails, in the desired materials and finishes.
- Protective Gear: Don’t forget about your safety! Wear gloves to protect your hands from sharp edges or splinters, and don safety glasses to shield your eyes from debris.
Step-by-Step Railing Installation Guide
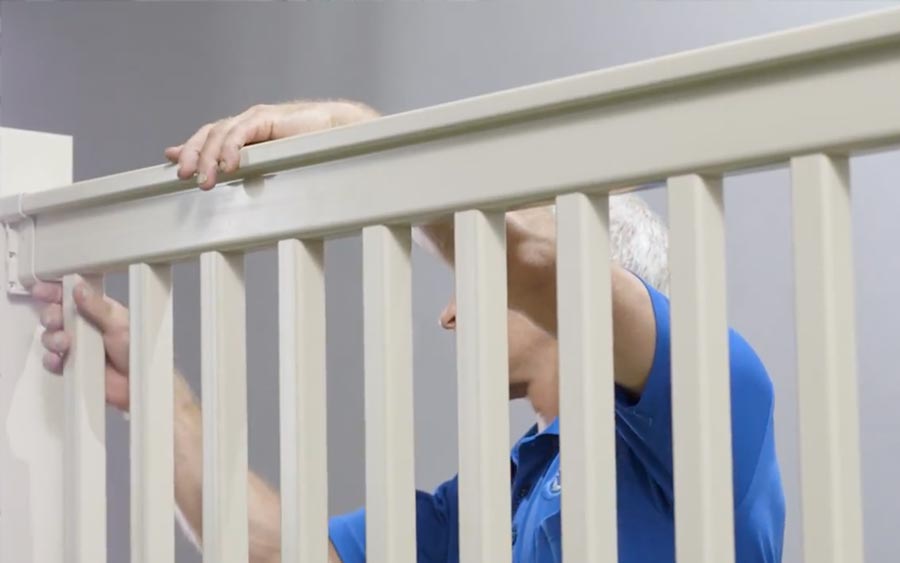
Step 1: Marking and Planning
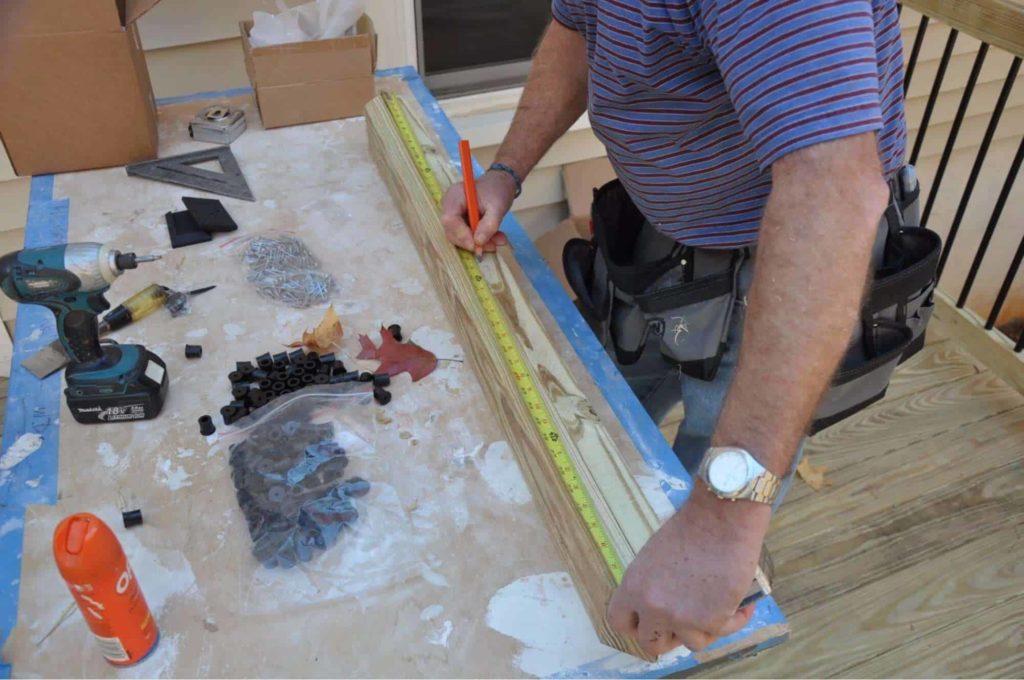
Begin by marking the railing’s placement based on the measurements taken earlier. Use a pencil or chalk to mark the locations of the posts, balusters, and handrails.
Ensure the markings are level and aligned properly for a visually pleasing result. Take time to plan the layout and spacing of the railing components, considering both functionality and aesthetics.
Step 2: Preparing the Mounting Surface
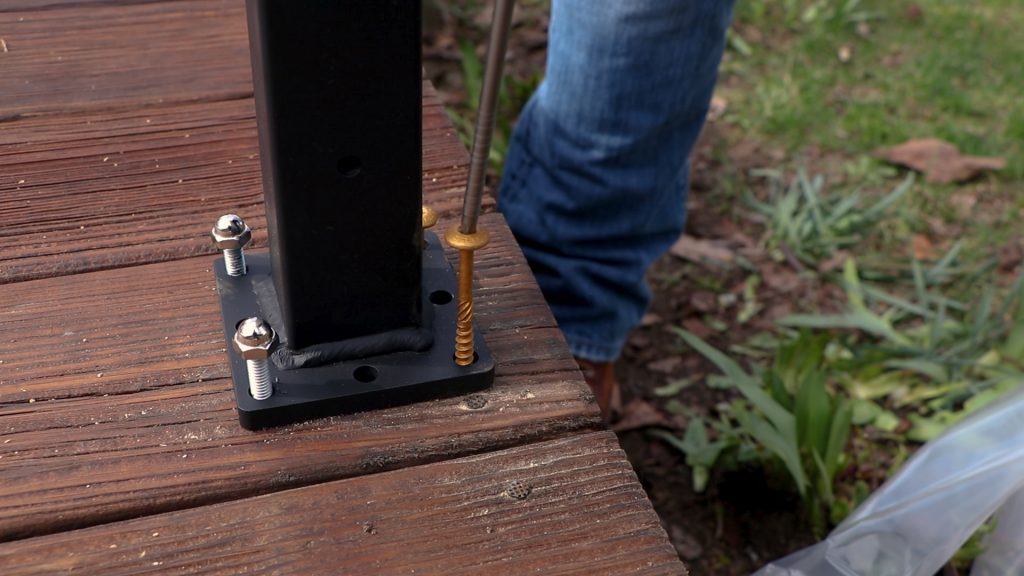
Next, prepare the mounting surface to ensure a secure attachment. Clean the surface thoroughly and remove any debris or obstacles that may hinder the installation process.
Depending on the surface material, such as concrete, wood, or metal, use appropriate methods to create a stable and sturdy base for the railing system.
Step 3: Installing Posts and Balusters
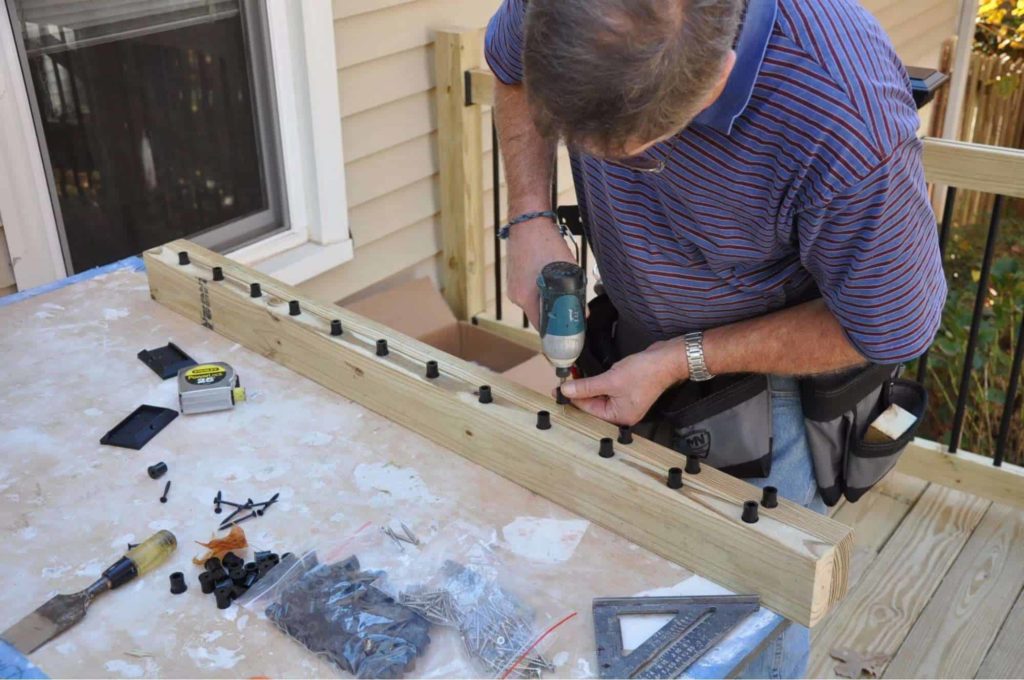
Install the posts and attach the balusters according to your chosen railing design. Follow the manufacturer’s instructions for the specific installation method, whether it involves surface mounting, fascia mounting, or core drilling.
- Surface Mounting: Surface mounting involves attaching the posts and balusters directly to the surface of your deck, porch, or stairs. This method is ideal when you have a solid and level base to work with.
It’s a straightforward installation process, making it a popular choice for many railing projects.
Keep in mind that surface-mounted railings may occupy some space on your deck or stairs, so plan accordingly for this slight reduction in usable space.
- Fascia Mounting: In this method, the railing’s posts are attached to the side or front fascia board of your deck or staircase. This creates a seamless look, as the railing appears to “float” on the surface without any visible posts below.
Fascia mounting works well when the deck or stairs have a sturdy fascia board to support the railing securely.
- Core Drilling: Core drilling is a method commonly used for concrete surfaces. In this technique, holes are drilled directly into the concrete, and the railing posts are anchored deep into the drilled holes using concrete anchors.
Core drilling provides exceptional stability and strength, making it suitable for installations that require heightened structural integrity.
However, keep in mind that core drilling is a more involved process, often requiring professional equipment and expertise.
Ensure that the posts are securely fastened and that the balusters are properly spaced to meet safety requirements and prevent any gaps that may pose a risk.
Step 4: Attaching Handrails
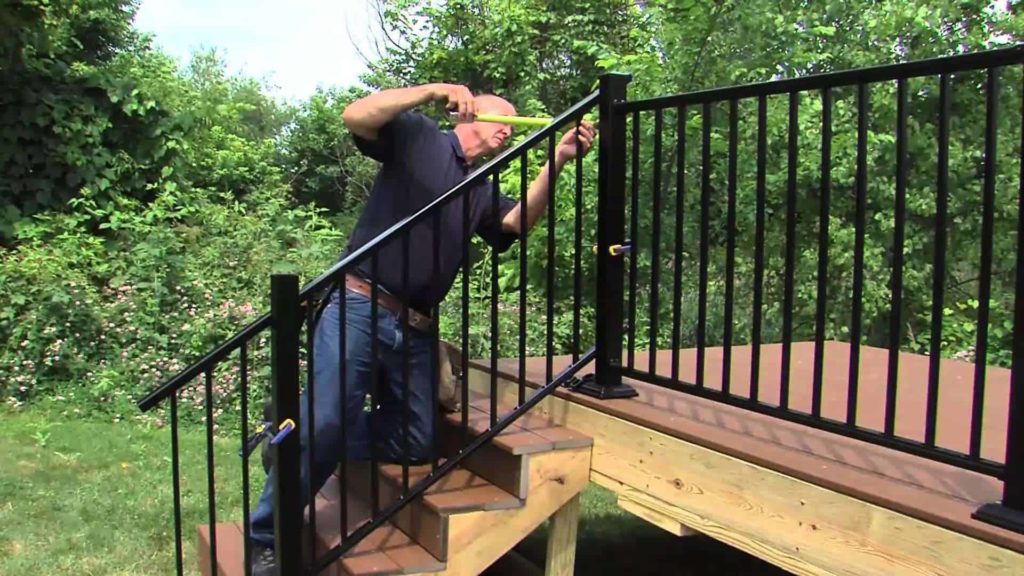
Once the posts and balusters are in place, attach the handrails to provide a comfortable grip and added safety. Depending on the railing type, this may involve using brackets, connectors, or other specific hardware.
Ensure that the handrails are level and securely fastened to the posts or balusters, offering stability and support for anyone using the railing.
Step 5: Finishing Touches and Safety Checks
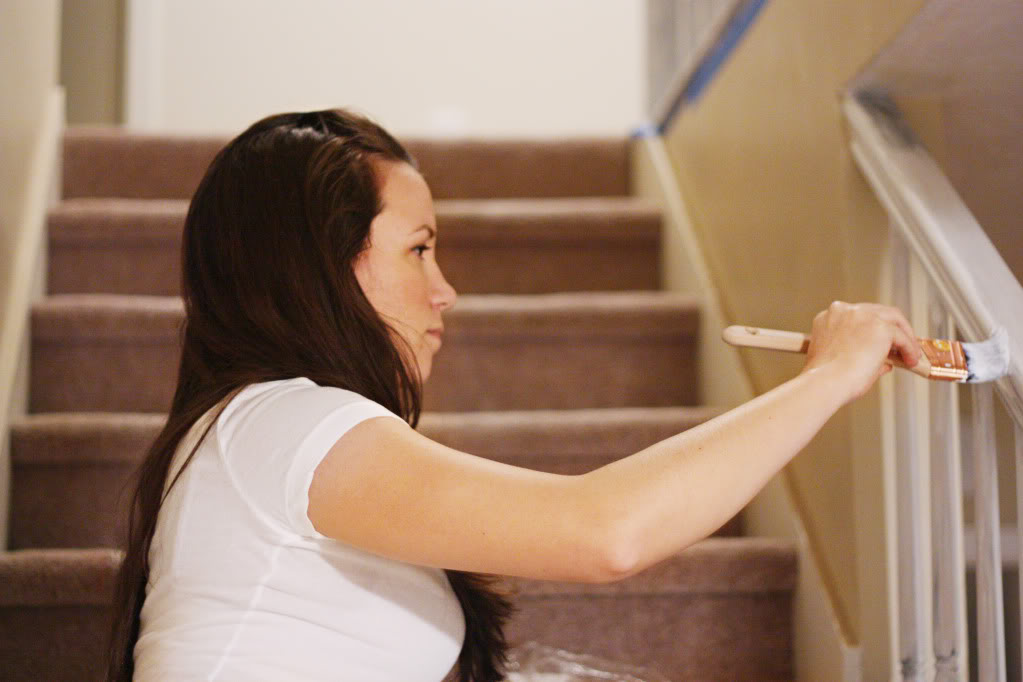
To enhance the durability and appearance of your railing, consider applying a protective finish or paint. This can help safeguard the railing against weather elements, corrosion, or wear and tear.
After completing the installation, perform thorough safety checks to ensure that all components are secure and free from any hazards. Also, verify that the railing complies with relevant building codes and regulations.
DIY vs. Professional Installation
When it comes to railing installation, you can tackle the project yourself or enlist the expertise of a professional contractor. Each option comes with its own set of advantages and considerations.
Let’s explore the pros and cons of DIY railing installation as well as hiring a professional contractor.
DIY Railing Installation
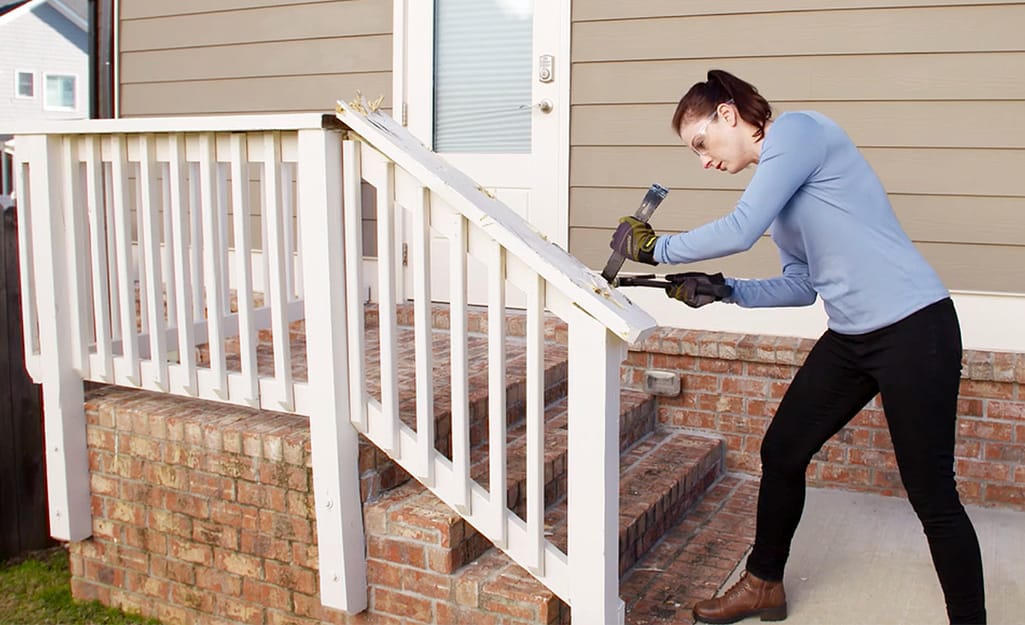
DIY projects have a certain allure, offering a sense of accomplishment and potentially saving you some money.
Here are some pros and cons to consider before deciding if DIY railing installation is right for you:
Hiring a Professional Contractor
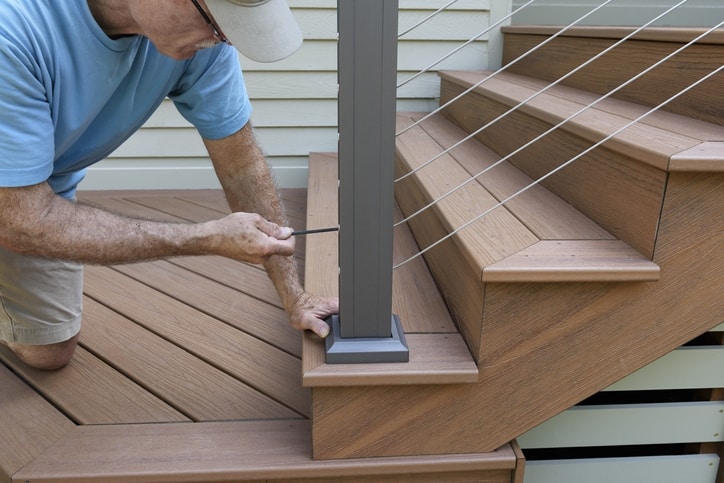
While DIY projects offer a sense of accomplishment and potential cost savings, hiring a professional brings expertise and convenience to the table. Here are the pros and cons of hiring a professional contractor for your railing installation needs.

