Hardwood floors have a natural look and feel underfoot that will no doubt class up your decor. They’re also incredibly easy to clean, repair, and maintain, provided you know how to do it.
However, they’re fairly hard to install. Oftentimes, people call in a flooring professional to handle it for them, but you can take on the work yourself with the right knowledge and tools.
So here are the steps in preparing an area for hardwood floor installation. We’ll also share useful tips and advice for each of them so you can tackle the job in the best way.
1) Get your space ready

The very first step in installing hardwood floors is to ready the space. This is a crucial step since this will enable you to work efficiently and prevent laborious cleanup later on.
By getting your space ready, we mean moving aside all the furniture, carpeting, decor items, and your personal stuff in the way.
And for things that can’t be easily removed, like a fireplace or ceiling fan, cover them with a drop cloth to protect them from dust and debris.
Installing or replacing existing flooring is dusty work, so you would have to build a dust containment system. It’s a kind of covering that shields the area from dust damage.
Furthermore, keep a lookout for and protect the farther spots or objects that can be covered in dust. Plus, seal off the air ducts through which the dust can travel around your house.
2) Choose your installation method
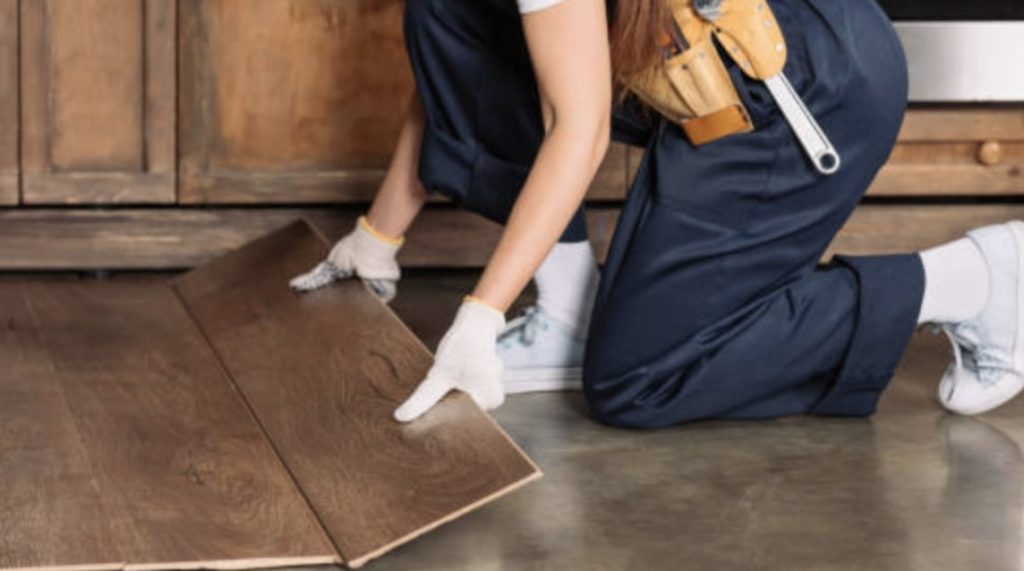
Once you’re done prepping your space, you have to measure the floor in square footage. This will allow you to know the total size of flooring you need to install.
Also, think about the kind of installation you’re going for. These come in three types which are the following:
- Click-and-lock – Easy and simple, click-and-lock flooring is perfect for DIYers. It simply requires setting and locking the hardwood panels together with no nailing required.
- Glue-down – As the name suggests, glue-down hardwoods attach to the ground by adhesion. Keep in mind, though, that a particular type of glue-down floor will require a particular glue for the best results.
Also, before the work, you would need some time to sand and level the subfloor.
- Nail-down – With this method, hardwood floors are fixed on the ground using a special tool. It’s a traditional way of installing hardwood floors, and consulting a pro is important before starting your project.
3) Strip the flooring and other intervening structures
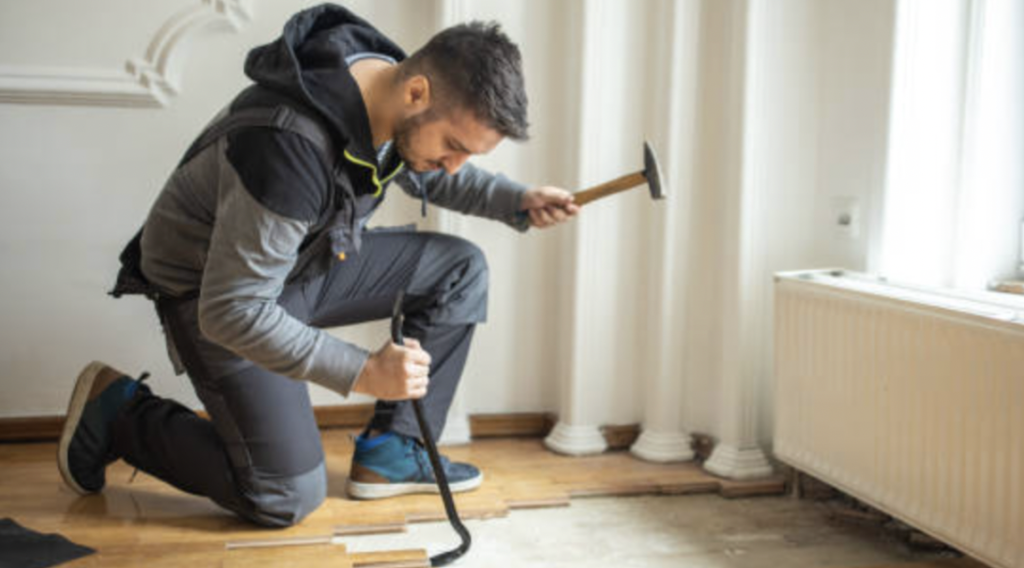
You can now proceed to strip the flooring, baseboard, shoe molding, and doors. This ensures the installed floor will come as close as possible to the wall.
If you’re using the click-and-lock installation method, it may be that you don’t need to remove your existing flooring and you can just place them above your subfloor.
Note that the subfloor type in this circumstance should be either one of these: plywood, linoleum, concrete, laminate, or ceramic tiles.
Prior to installation, don’t forget that the subfloor has to be level, or it will be a wasted effort on your part.
4) Prep the subfloor
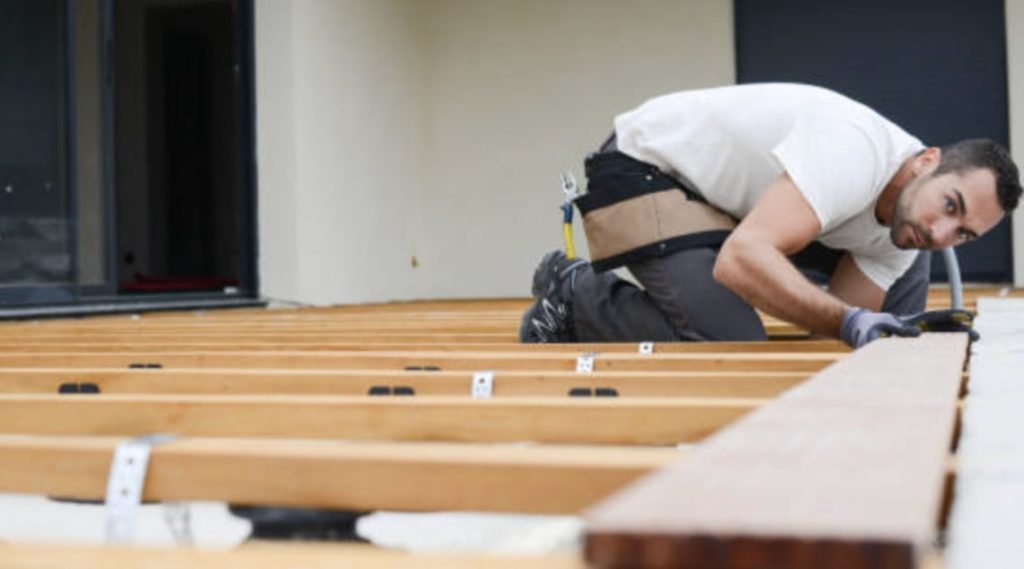
You should now be left with your bare subfloor. Sand down the surface to make it level, and vacuum the dirt and dust.
Additionally, if you hear any squeaking as you traverse the subfloor, the problem is often that it isn’t screwed well to the floor joists. So tighten the screws under the weak areas of the subfloor.
Moisture and noise are also common problems that can occur underneath the floor.
To protect from excess moisture, put up a vapor barrier, preferably one made from foam, felt, or red rosin paper. And to minimize the noise coming through the floor, consider installing a noise barrier.
5) Install the hardwood floor
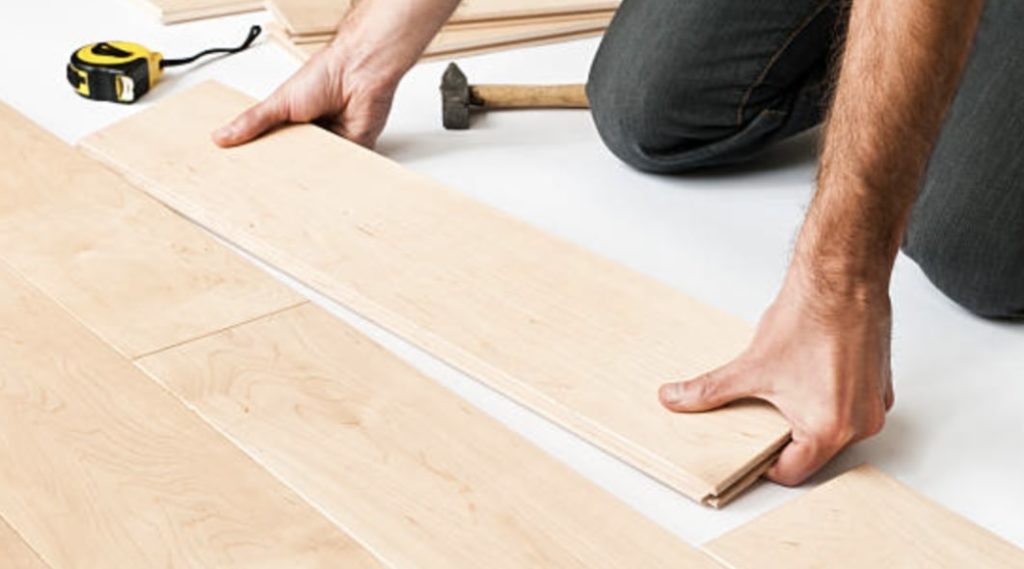
At last, you can lay the hardwood boards on the floor one by one. Again, how you do this will largely depend on the floor installation method you’ve chosen.
Begin with a long piece of hardwood, align it to the drywall, and add the pieces one by one until you complete the work.
That said, we’d like to warn you that you may make a mistake or find yourself unable to finish the installation. So, in case this happens, just ask a qualified floor tradesman, and they’ll work to sort out the issue.

