Having a door that won’t close properly can be frustrating and inconvenient. Whether it’s an interior door or your front door, this issue can disrupt your daily routine and compromise the security of your home.
There are several common culprits behind a door that won’t close, and fortunately, most of them can be fixed with a little know-how and effort.
In this comprehensive troubleshooting guide, we’ll walk you through the process of identifying and resolving the issues causing your door to malfunction and provide you some tips for maintaining a functional door in the long run.
Identifying the Culprits
One of the first steps in fixing a door that won’t close properly is identifying the root cause. Here are some common culprits that may be preventing your door from closing smoothly:
Misaligned Door
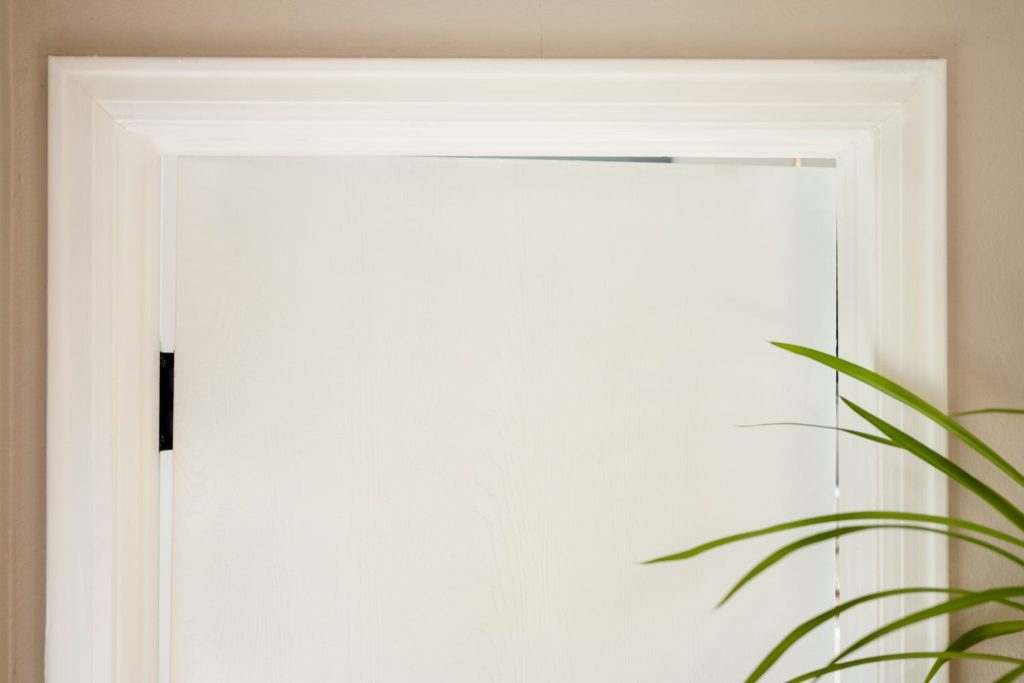
One of the most common reasons for a door that won’t close properly is misalignment. Over time, doors can shift or settle, leading to an improper fit within the frame.
This issue can arise due to factors like house settling, temperature fluctuations, or improper installation. Signs of a misaligned door include noticeable gaps between the door and the frame, uneven spacing, or difficulty in latching the door.
How to Fix a Misaligned Door
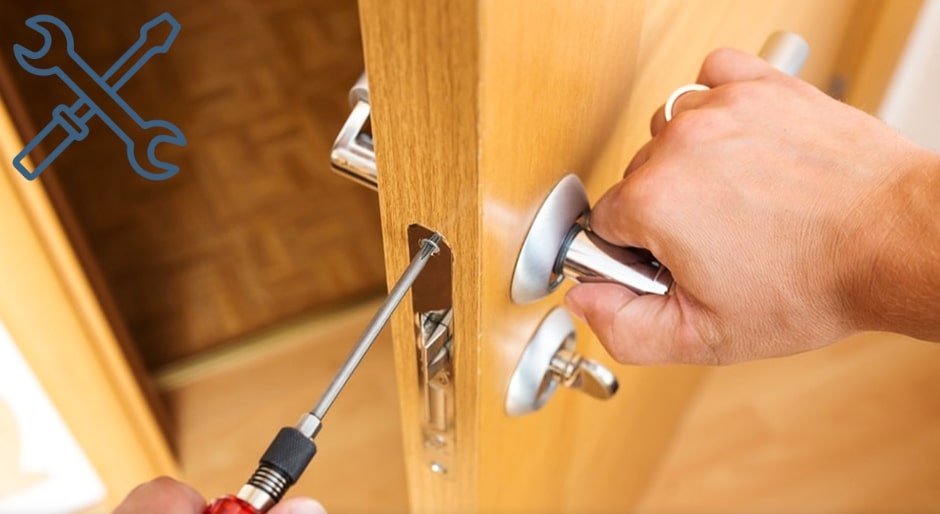
Method 1: Tighten loose screws and hinges
Check for any loose screws or hinges that may contribute to the misalignment. Use a screwdriver to tighten them and ensure they are securely in place.
Method 2: Shim the hinges
If tightening the screws doesn’t resolve the misalignment, you can use shims to adjust the position of the hinges. Insert the appropriate-sized shims between the hinge plates and the frame to create a more level surface.
Method 3: Adjust the strike plate
The strike plate is the metal plate on the door frame that the latch engages with when the door is closed. If the door is misaligned vertically, you can adjust the strike plate by loosening the screws, repositioning it, and tightening the screws again.
Method 4: Trim the door
In cases where the misalignment is severe, you may need to trim the door slightly to ensure a proper fit. Measure the uneven areas, and use a plane or sander to carefully remove excess material until the door fits smoothly within the frame.
Method 5: Check and adjust the weatherstripping
Inspect the weatherstripping around the door. If it is worn, damaged, or improperly installed, it can contribute to misalignment.
Replace or adjust the weatherstripping as needed to ensure a proper seal.
Worn-out Hinges
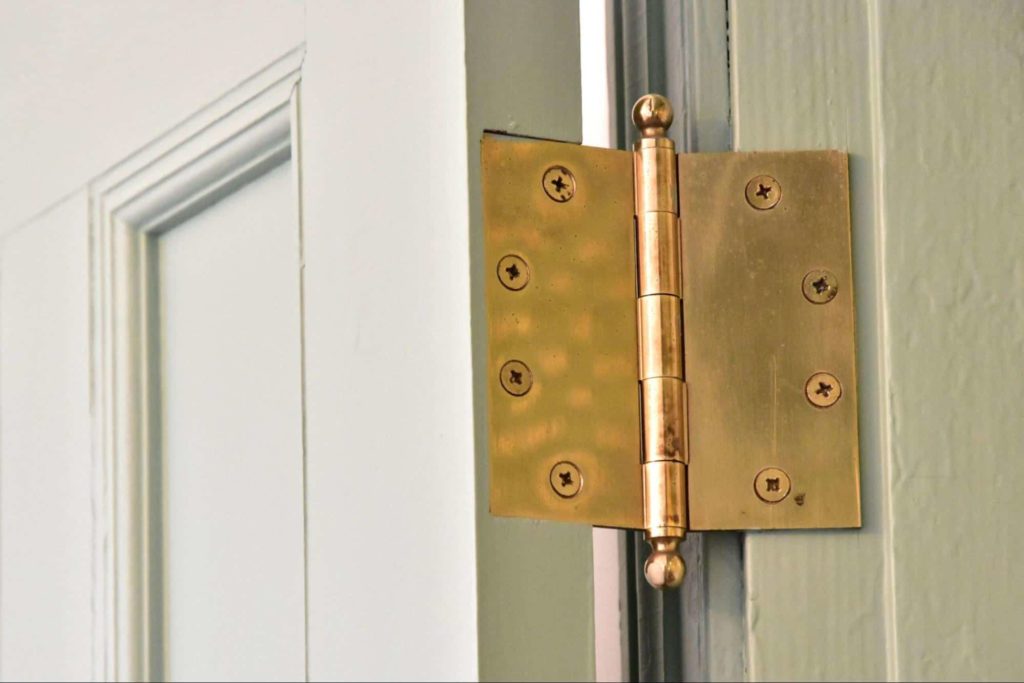
Hinges are vital components for the proper functioning of a door. However, if they become worn out, rusty, or loose, they can hinder the door from closing correctly.
Constant usage and the repetitive motion of opening and closing the door can put stress on the hinges, resulting in wear and tear over time.
Rust accumulation, squeaking sounds, or loose screws are common signs indicating the need for attention to the hinges.
How to Fix Worn-out Hinges
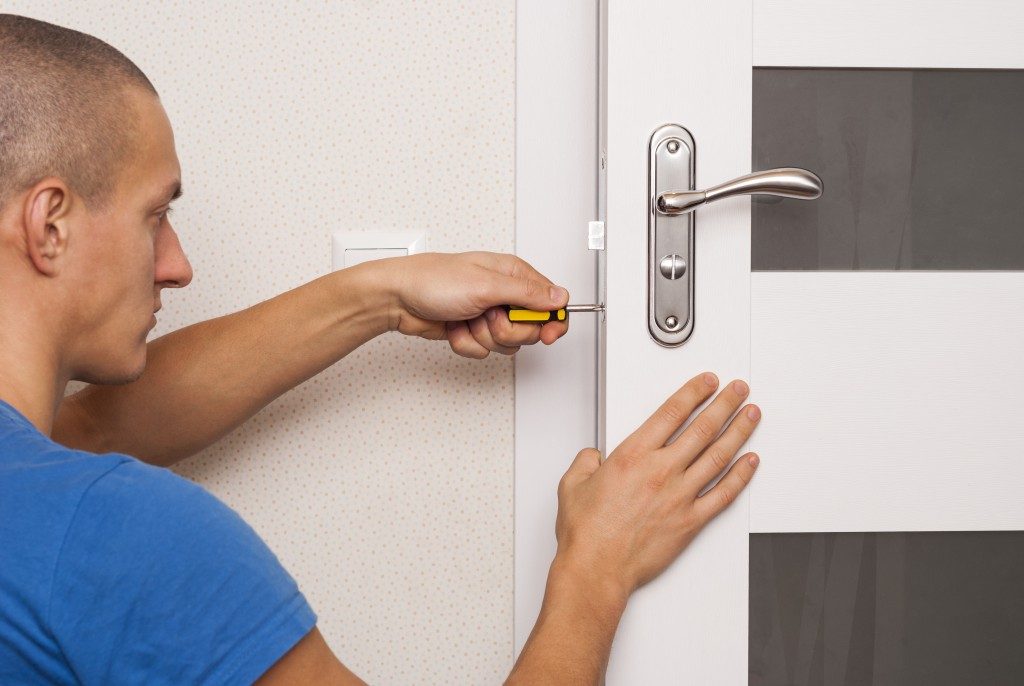
Step 1: Tighten loose screws
Using a screwdriver, carefully tighten any loose screws on the hinges. This can often resolve minor issues and improve the overall stability of the hinges.
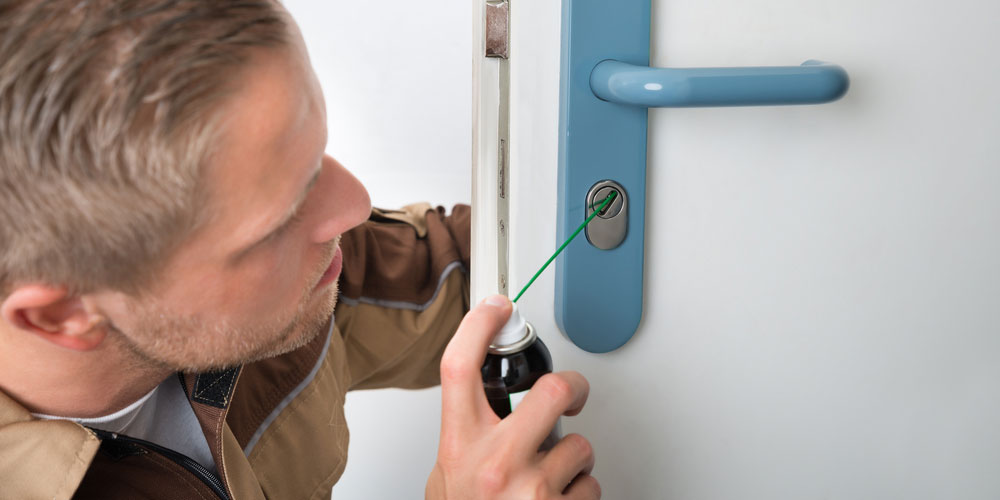
Step 2a: Lubricate the hinges
Apply a lubricant, such as silicone-based or graphite lubricant, to the hinge pins and moving parts of the hinges. This will help reduce friction and eliminate any squeaking sounds caused by friction between the hinge components.
Step 2b: Replace damaged hinges
If the hinges are severely worn out, damaged, or rusted, they may need to be replaced. Remove the old hinges by unscrewing them from the door and the frame.
Install new hinges of the same size and type, ensuring a secure and proper fit.
Step 3: Test and adjust the door
Once the new hinges are in place, carefully close and open the door to test its movement. If necessary, make minor adjustments by loosening or tightening the screws on the hinges until the door closes smoothly.
Swollen Wood Due to Humidity or Moisture
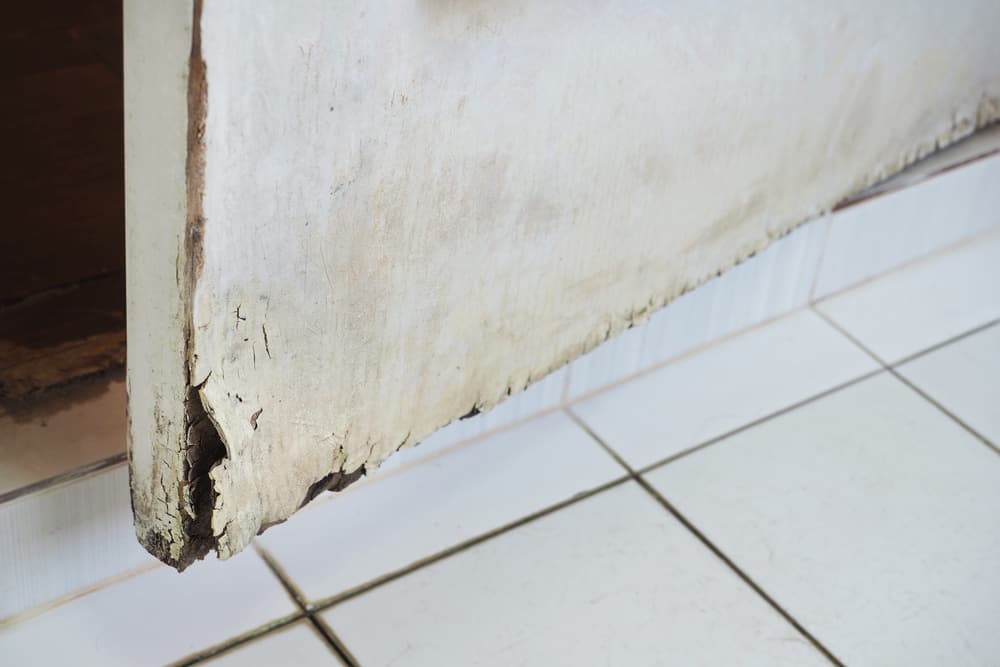
Exposure to humidity or moisture can lead to swollen wood in doors or door frames, resulting in a tight fit or misalignment that hinders smooth door closure.
This issue is particularly prevalent with wooden doors, as wood tends to absorb and release moisture based on environmental conditions.
How to Fix Swollen Wood Door Due to Humidity or Moisture
Step 1: Dry the wood
Allow the swollen wood to dry out naturally. Depending on the extent of the swelling, this process may take several days or weeks.
Remember to let it dry thoroughly, and ensure proper ventilation in the affected area to facilitate drying.
Step 2: Sand the swollen areas
Once the wood has dried, use sandpaper or a sanding block to gently sand the swollen areas. Start with coarse-grit sandpaper and gradually transition to finer grits until the surface becomes smooth.
Be careful not to remove excessive material.
Step 3: Refinish the wood
After sanding, consider refinishing the wood to restore its appearance and protect it from future moisture-related issues. Apply a suitable wood finish or sealant according to the manufacturer’s instructions.
Step 4: Check door alignment
Once the wood has been sanded and refinished, check the door alignment. If the swelling caused a misalignment, follow the steps outlined earlier for fixing a misaligned door to ensure the door fits properly within the frame.
Once it’s fixed, take necessary precautions to manage indoor humidity levels to avoid further swelling.
Loose or Damaged Door Frame
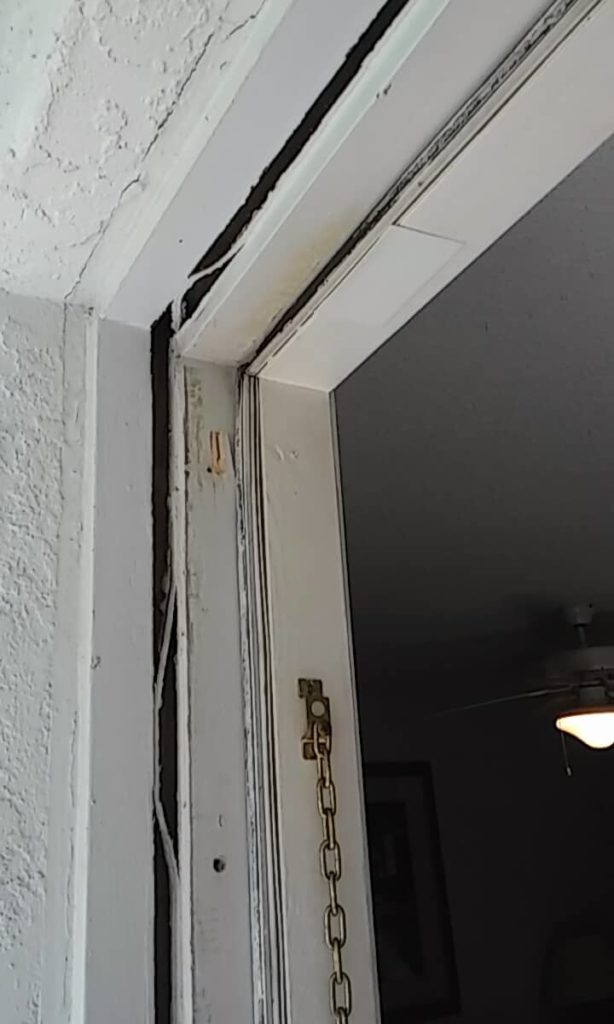
A loose or damaged door frame can result in misalignment, preventing the door from closing properly. Over time, the frame may weaken due to factors such as age, improper installation, or physical damage.
How to Fix Loose or Damaged Door Frame
Step 1: Tighten loose screws and bolts
Using a screwdriver or wrench, tighten any loose screws, bolts, or fasteners on the door frame. This will help secure the frame and improve its stability.
Step 2: Repair cracks or gaps
If there are cracks or gaps in the door frame, use wood filler or epoxy putty to fill them in. Follow the manufacturer’s instructions for proper application and drying time.
Step 3: Reinforce the door frame
To strengthen the door frame, consider installing additional support. This can include adding metal brackets, angle irons, or door frame reinforcement kits.
Follow the manufacturer’s instructions for proper installation.
Step 4: Replace damaged sections
In cases where the damage is severe, you may need to replace the damaged sections of the door frame. This can involve removing the old section and installing a new one using appropriate tools and materials.
Step 5: Test door alignment
After completing the repairs and reinforcements, test the door alignment. Open and close the door to ensure it operates smoothly and fits properly within the frame.
Make any necessary adjustments if misalignment persists.
Seek professional assistance if needed, especially for complex repairs or frame replacements.
Maintaining a Functional Door
Once you’ve resolved the issue causing your door to malfunction, it’s essential to maintain its functionality. Here are some tips for keeping your door in good shape:
Lubricate hinges and other moving parts
Regularly lubricate the hinges and other moving parts of your door to prevent friction and ensure smooth operation. Over time, dust and debris can accumulate in the hinges, causing them to become stiff or squeaky.
Use a silicone-based lubricant or a high-quality oil to keep everything well-oiled and functioning correctly.
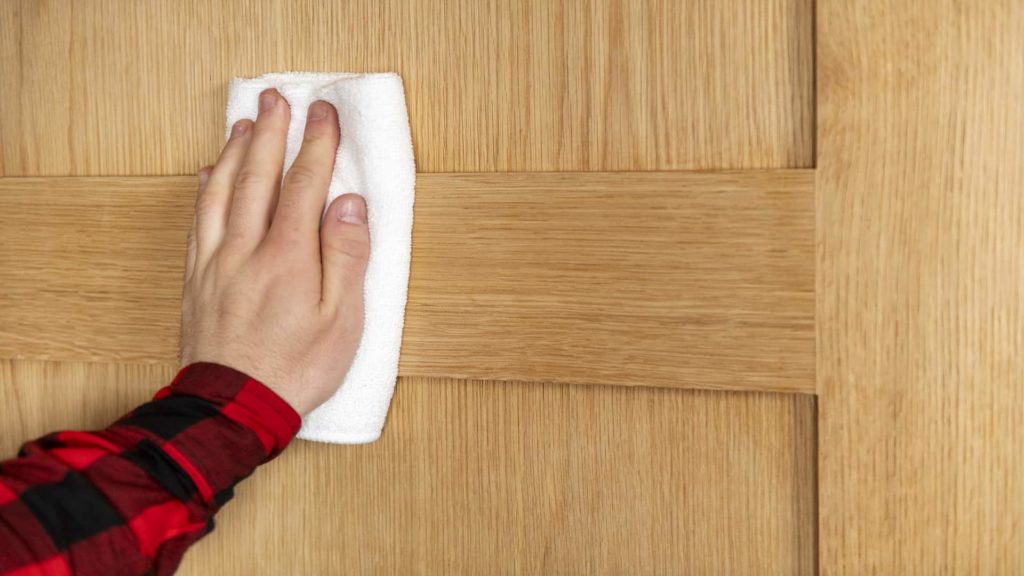
Start by cleaning the hinges with a cloth to remove any dirt or residue. Apply a small amount of lubricant to the hinges, moving them back and forth to ensure even distribution.
Lubricate other moving parts such as the latch and handles as well.
By incorporating regular lubrication into your door maintenance routine, you can extend the lifespan of the hinges and ensure that your door opens and closes effortlessly.
Check and adjust the door’s alignment regularly
Periodically check the door’s alignment and make necessary adjustments if you notice any signs of misalignment. Regular maintenance can help catch minor issues before they worsen and save you from future headaches.
Using a level, check if the door is vertically straight and make note of any areas that seem out of alignment. Inspect the gaps between the door and the frame, ensuring they are even and consistent all around.
If you detect any misalignment, such as a door that doesn’t sit flush or gaps that are uneven, you may need to make minor adjustments. This can involve tightening screws and adjusting hinges or the strike plate alignment.
By regularly checking and adjusting the door’s alignment, you can ensure that it continues to function smoothly and maintains a proper seal.
Monitor humidity levels to protect wood doors
If you have wood doors, it’s important to monitor the humidity levels in your home. Wood tends to expand and contract with changes in moisture, which can affect the door’s fit within the frame.
Invest in a hygrometer to measure the humidity in your home. If the humidity levels are consistently high, consider using dehumidifiers or improving ventilation in the affected area to reduce moisture and prevent further swelling.
Additionally, take steps to protect your wood doors from direct exposure to moisture. Wipe up any spills promptly and avoid placing wet items or plants near the door.
Applying a protective sealant or finish to the door can also help prevent moisture absorption. By monitoring humidity levels and taking precautions to protect wood doors, you can minimize the risk of swelling and ensure their long-term functionality.
Repair damaged weatherstripping or thresholds
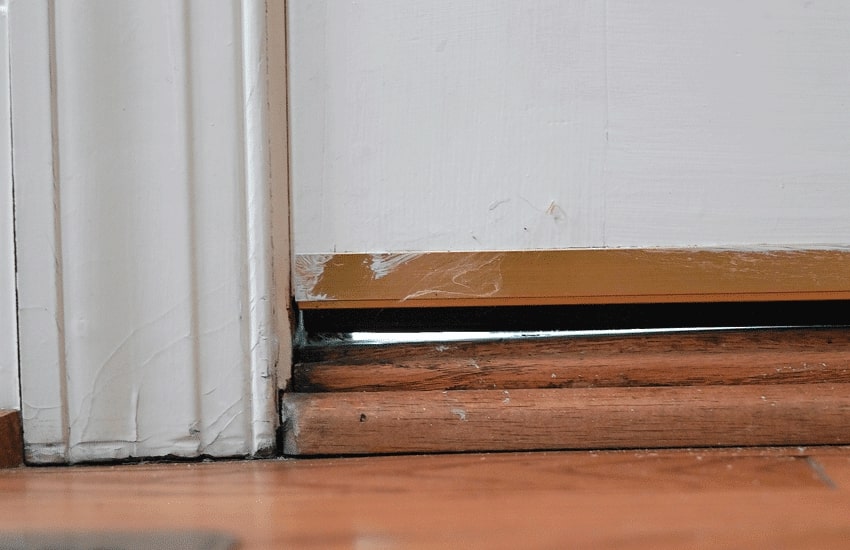
Weatherstripping and thresholds are essential components that help seal the door and prevent drafts. Over time, these components can become damaged or worn, compromising their effectiveness.
Regularly inspect the weatherstripping and thresholds for any signs of damage, such as cracks, gaps, or wear. Replace any damaged weatherstripping or threshold promptly to maintain a tight seal when the door is closed.
Replacing these parts is typically a straightforward process. Measure the length needed and cut the new weatherstripping or threshold accordingly.
Remove the old components and attach the new ones securely using adhesive or screws, following the manufacturer’s instructions.
By ensuring that the weatherstripping and thresholds are in good condition, you can prevent air leaks, improve energy efficiency, and maintain a properly functioning door.