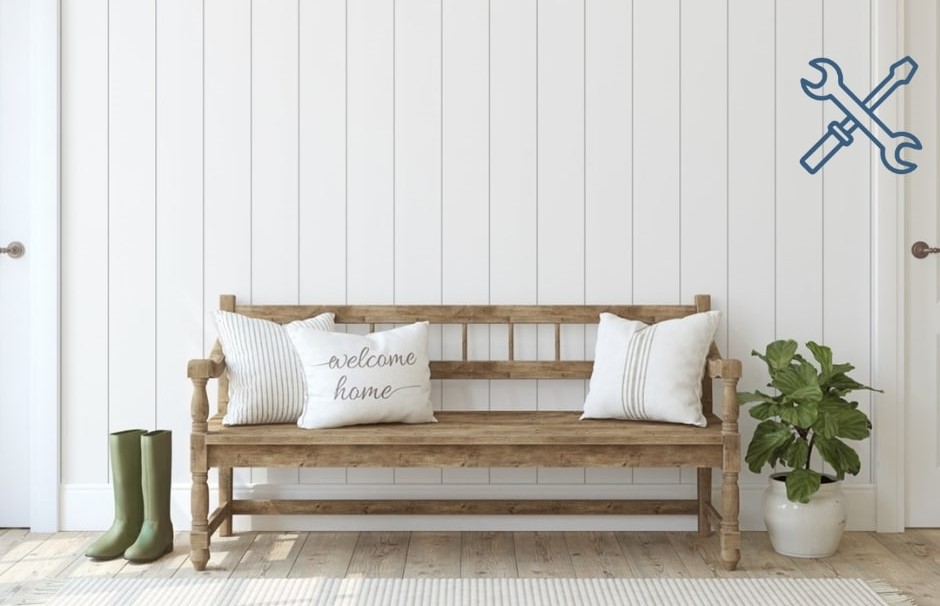
White shiplap is a classic choice that adds a touch of elegance to interior and exterior designs. It has a timeless appeal and can make spaces feel larger and brighter, which is why homeowners love it.
It’s also relatively easy to install, so it’s a favorite among DIY enthusiasts.
In this guide, we’ll discuss everything you need to know about white shiplap, from its pros and cons and installation to maintenance and decorating ideas.
Pros and Cons of Using White Shiplap

White shiplap is a type of wooden paneling characterized by horizontal or vertical boards that overlap each other, and it’s known for its clean, bright, and rustic charm.
It can be used in various settings, from traditional to modern, and can adapt to your style, whether you’re aiming for a coastal, farmhouse, or contemporary look. Here are some of its pros and cons:
Pros
- Timeless aesthetic
- Brightening effect
- Easy to Install
Cons
- Maintenance
- Cost
Advantages of White Shiplap
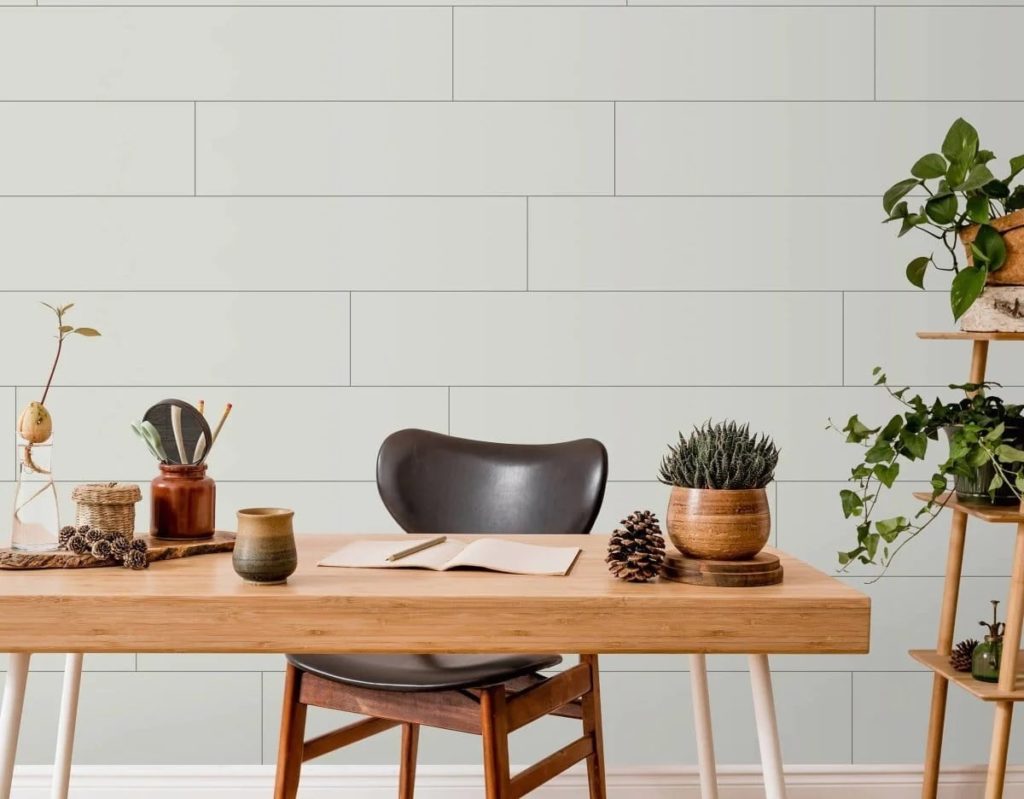
- Timeless Aesthetic: White shiplap has a classic look and never goes out of style, so you won’t have to be concerned about it becoming outdated.
Whether you prefer a traditional, contemporary, or another type of interior style, white shiplap can seamlessly blend into your decor and provide an elegant backdrop that stands the test of time.
This versatility ensures that you can enjoy the same refined look for years to come without feeling the need to constantly update your space.
- Brightening Effect: One of the most significant advantages of white shiplap is its ability to brighten up spaces. Its color reflects natural and artificial light and infuses spaces with a sense of airiness and openness.
This brightening effect is particularly beneficial in smaller rooms or areas with limited access to natural light.
By choosing a white shiplap, you can visually expand the space and create an inviting atmosphere that feels more expansive and welcoming.
- Easy to Install: Another reason to consider white shiplap is its user-friendly installation process. Even for individuals with minimal DIY experience, white shiplap is relatively easy to work with.
With the right materials and a clear set of instructions, you can install white shiplap quite easily.
The straightforward nature of the installation makes it accessible to beginners and allows you to transform a room or accent wall in no time.
Considerations Before Choosing White Shiplap
- Maintenance: While white shiplap makes your place look nice, it’s important to know the maintenance requirements that go with it. You might have to dedicate some time to cleaning it every now and then to make sure it stays nice and clean.
Dust and dirt can accumulate over time, especially in areas where a lot of people pass by. That’s why it requires regular upkeep.
However, the cleaning process is straightforward and typically involves gentle dusting and wiping with a damp cloth.
- Cost: White shiplap is generally budget-friendly compared to many other wall treatments, costing between $500 and $1,700 for a 200-square-foot room.
However, it’s important that you have a clear understanding of the overall cost of installing it.
Your budget should also include the cost of additional materials such as nails, adhesives, paint, and any necessary tools. Additionally, if you’re not doing the installation yourself, factor in the expense of hiring a professional.
Different Uses for White Shiplap
White Shiplap in Interior Design
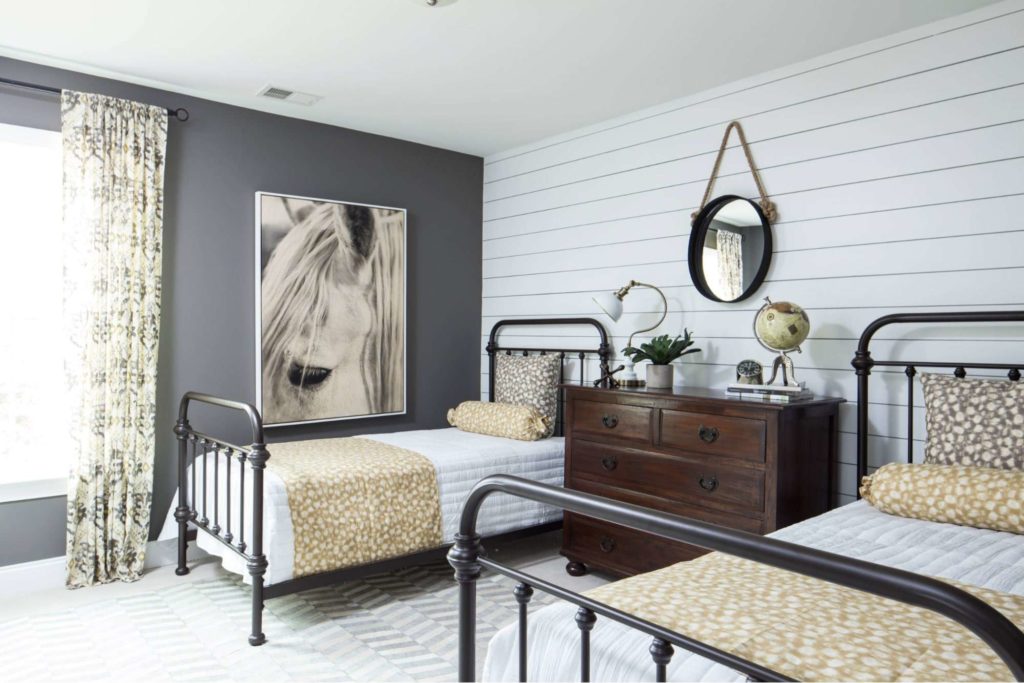
- Bedrooms: White shiplap can create a serene and beachy vibe in your bedroom.
Imagine it as a backdrop of your bed’s headboard. This calming spot makes it a great place to sleep at night and wake up in the morning feeling calm.
The white shiplap’s clean lines and its ability to reflect light make your bedroom seem spacious and open for a relaxing and refreshing mood.
- Living Rooms: White shiplap can work its magic to create a cozy and rustic atmosphere in your living room.
Picture it as a special wall behind your sofa or fireplace. This not only adds character to the room but also grabs everyone’s attention when you have people over.
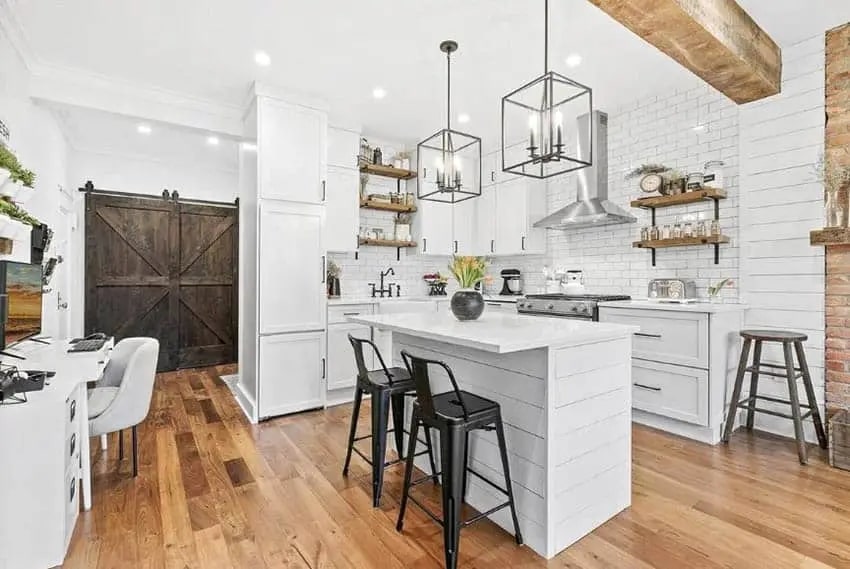
- Kitchens: The kitchen is where everyone gathers, and white shiplap can make this place cozy.
It gives your kitchen a clean and fresh look, making it a great place for cooking. If you want to be extra creative, you can even use shiplap for cabinets or the ceiling.
This adds a unique style and makes your kitchen a warm and friendly place for family and friends to hang out.
White Shiplap in Exterior Design
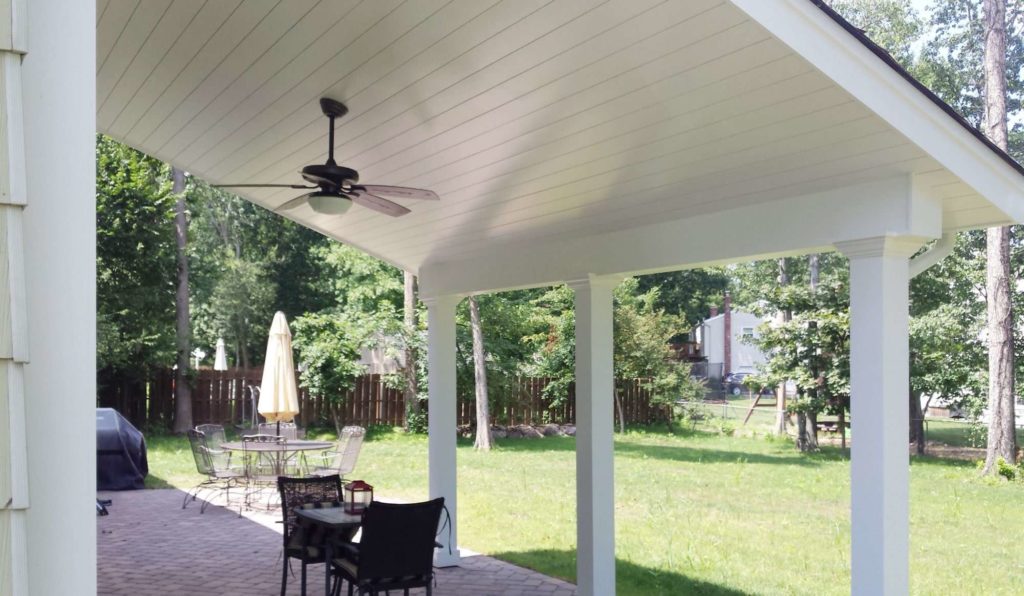
- Porches and Patios: Extend your outdoor living spaces by using white shiplap on your porch or patio walls.
This stylish choice not only adds beauty but also creates a cozy atmosphere where you can relax, entertain, and enjoy the outdoors.
Whether you’re sipping morning coffee on the porch or hosting a barbecue on the patio, the white shiplap adds a touch of sophistication to your alfresco experience.
It’s an inviting space to create cherished memories with family and friends.
- Outdoor Walls: White shiplap isn’t limited to indoor spaces; it can also transform your outdoor areas. Installing it on your outdoor walls, whether they belong to your house, fence, or garden shed, adds a touch of chic elegance.
White shiplap outdoors creates a striking contrast with nature and makes your property stand out while providing a weather-resistant finish. It’s a practical and stylish way to enhance your home’s exterior.
White Shiplap Styles and Patterns
White shiplap is a versatile canvas for creativity in your home. Here are the various styles and patterns of white shiplap and how mixing them with other materials can breathe life into your living spaces.
Classic Horizontal Shiplap
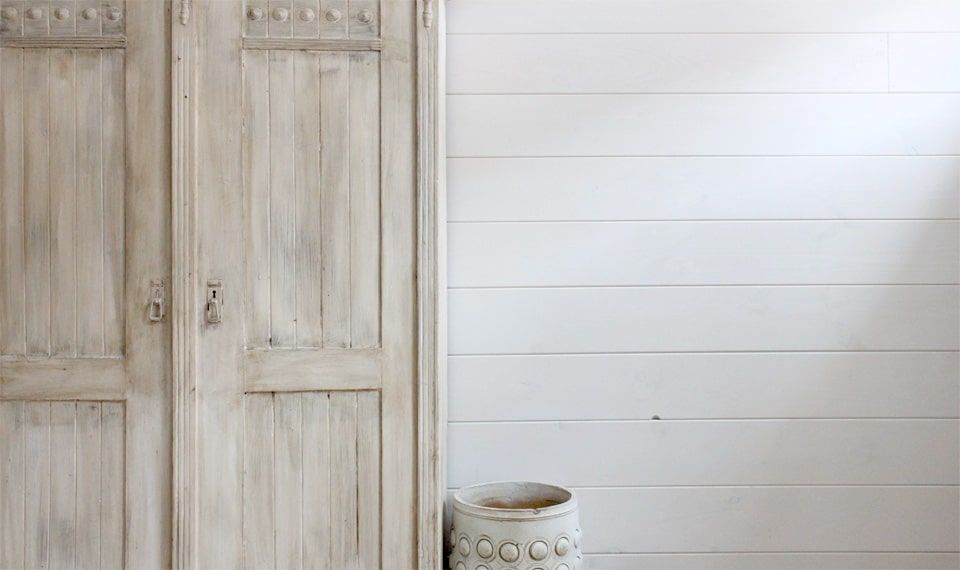
Horizontal shiplap is a great choice that creates a traditional look in your living space.
When the shiplap boards are installed horizontally, they create a sense of continuity and width, which makes it an ideal choice for achieving a cozy, farmhouse, or coastal aesthetic.
Vertical Shiplap
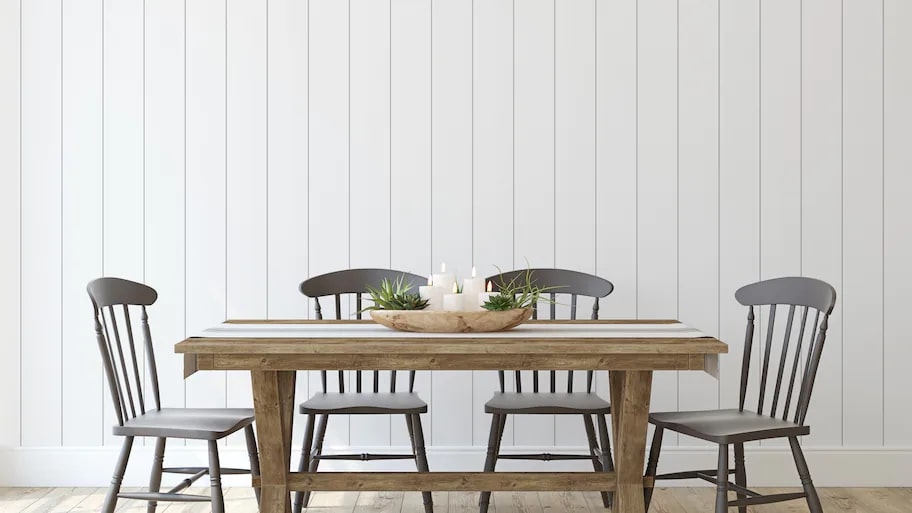
If you want to infuse your space with height and drama, vertical shiplap is an excellent choice.
When shiplap boards are installed vertically, they draw the eye upward, making rooms with tall ceilings appear even more grand and spacious.
Vertical shiplap is particularly effective in rooms where you want to create a sense of loftiness and elegance.
Chevron and Herringbone Patterns
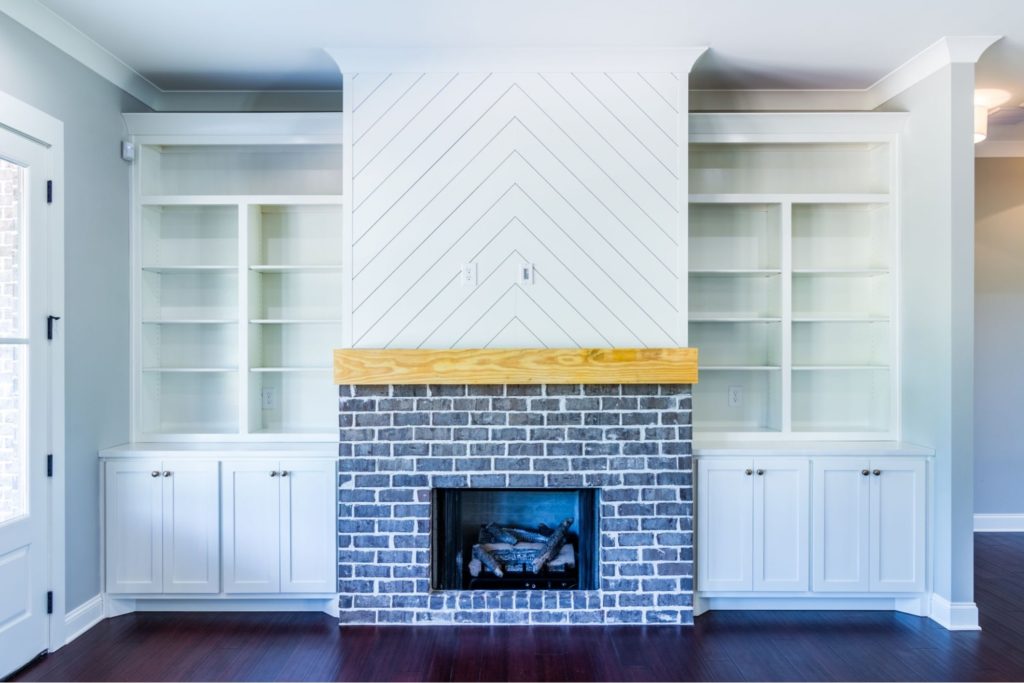
For a more unique and visually intriguing twist on white shiplap, you can consider arranging the boards in chevron or herringbone patterns.
These patterns involve installing the shiplap boards at 90° or 45° angles to create unique, eye-catching designs. Chevron patterns feature a V-shaped configuration, while herringbone patterns form a distinctive zigzag.
These patterns add a dynamic and contemporary element to your space and showcase the versatility of white shiplap in modern design.
Mixing White Shiplap with Other Materials
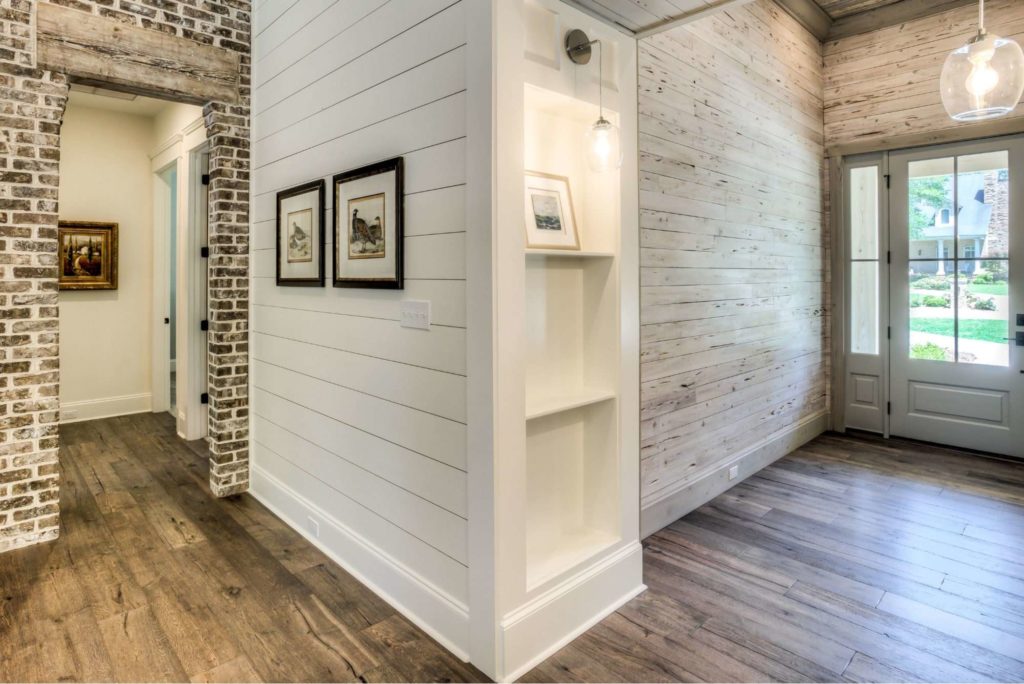
When combined with materials like brick, stone, or tile, white shiplap contributes to a dynamic and textured design.
For example, white shiplap can serve as a clean backdrop that enhances the natural beauty of wooden beams or stone accents.
Mixing materials allows you to create a personalized and visually engaging design that suits your preferred style, whether it’s rustic, contemporary, or eclectic.
Decorating with White Shiplap
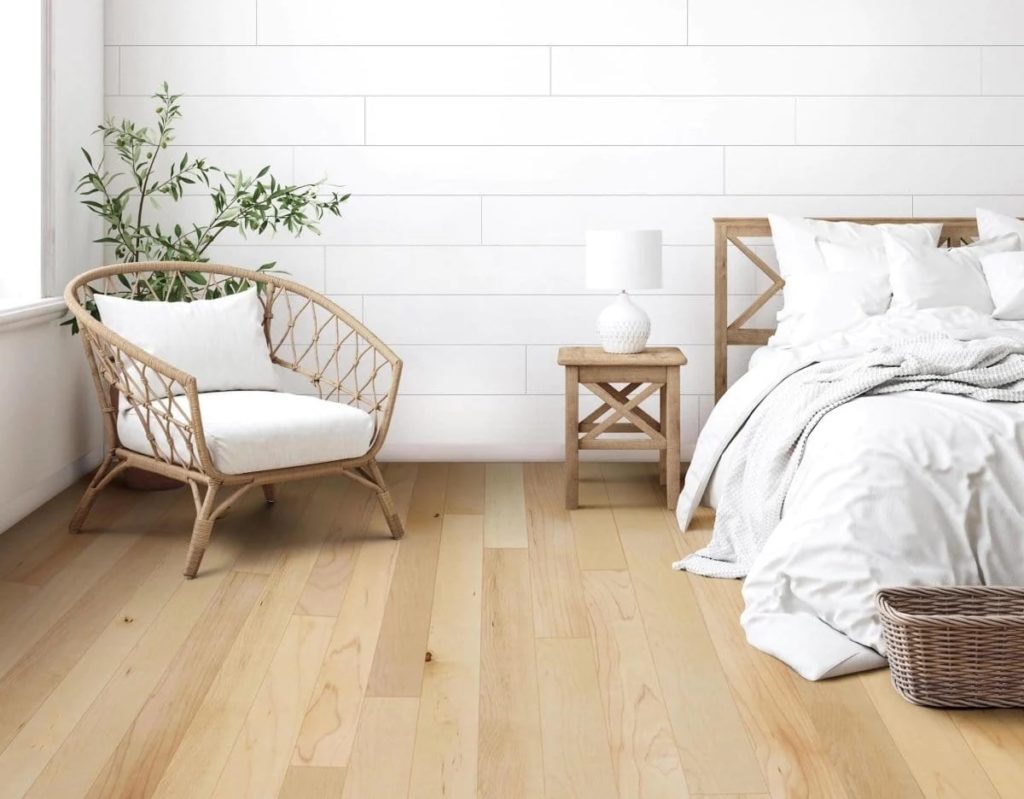
Here is a quick guide to decorating your spaces with white shiplap:
- Choosing the Right Paint: When it comes to painting white shiplap, it’s important to select a paint finish that is both durable and easy to clean.
The durability ensures that the paint can withstand wear and tear over time, while the easy-to-clean feature simplifies maintenance.
These considerations are particularly important for areas where a lot of people walk past or where the shiplap is exposed to potential stains.
A quality paint finish will help preserve the pristine appearance of your white shiplap and keep it looking fresh and beautiful for an extended period.
Typically, for white shiplap, you’d want to use water-based paint, such as acrylic latex paint.
- Complementary Decor and Furniture: White shiplap is remarkably versatile, which makes it compatible with a wide range of decor styles.
For a cozy, farmhouse ambiance, consider using wooden furniture pieces such as rustic tables or chairs. These can enhance the overall warmth and character of the space and create a harmonious and inviting atmosphere.
If you prefer a more contemporary look, sleek furniture works exceptionally well with white shiplap. The clean lines and bright finish of the shiplap serve as an elegant backdrop for modern furnishings.
- Minimalism: White shiplap naturally fits in minimalistic designs. Its clean lines and bright finish emphasize simplicity, functionality, and the reduction of clutter.
The shiplap’s clean and uniform appearance in a minimalist interior allows for a sense of balance and tranquility and makes it easier to maintain a clutter-free living space.
It’s an ideal choice for those who appreciate the simplicity and calmness of minimalistic aesthetics.
- Seasonal Decor Ideas: Decorating with white shiplap is fun because you can change it to match the seasons. You can easily refresh your space by using seasonal decors.
For example, in the winter, you can hang a festive wreath on your shiplap wall. In the spring, put up artwork with bright colors.
In the summer, you can use light and airy fabrics to make your shiplap look breezy.
These little changes make your white shiplap always feel welcoming and right for the season.
How to Install White Shiplap
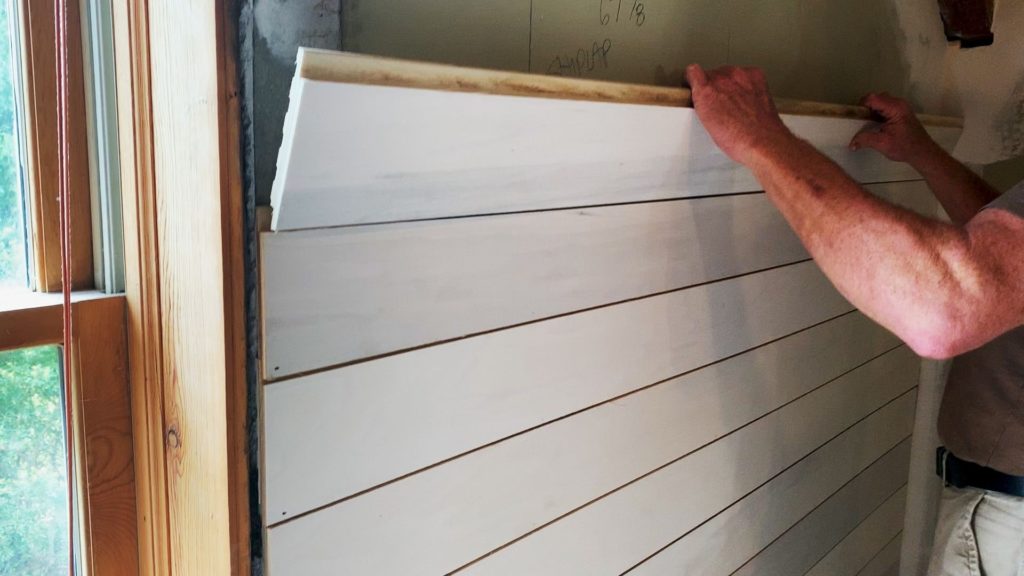
Here’s a step-by-step guide to installing your white shiplap:
- Start by measuring the wall carefully and mark your plan to install the white shiplap.
- Ensure the wall surface is clean and smooth; take off any old stuff on the wall like wallpaper or paint that could get in the way of the installation.
- Lay out the shiplap boards horizontally or vertically, depending on your design preference. Begin at the starting point you picked, usually a corner or the middle of the wall, and make sure the first board is level both vertically and horizontally.
- Next, stick or nail the shiplap boards to the wall. If you’re using nails, put them carefully along the boards, usually in the grooves, so you can’t see them much.
Using a nail gun can make this easier and more secure.
If you’re using adhesive, spread it evenly on the back of each board before pressing it onto the wall. Remember to follow the manufacturer’s instructions for how long it needs to dry.
- As you go, make sure each shiplap board overlaps the previous one slightly for a seamless appearance, usually about 1/8 to 1/4 inch.
- Continuously check for levelness both horizontally and vertically as you install each board, and adjust them if needed so they line up nicely.
- Once all boards are in place, add trim to corners and edges for a polished look.
- Fill any nail holes or gaps with wood filler or putty.
- Sand the surface to smooth out any rough edges.
- You may finish with a coat of paint or sealant to protect the wood.
Maintenance and Care
Cleaning White Shiplap Walls
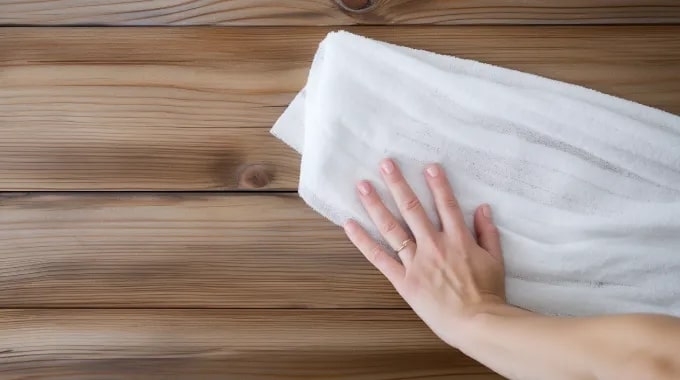
To keep your white shiplap walls looking fresh and pristine, regular cleaning is necessary. Here’s how to maintain their cleanliness:
- Dusting: Use a soft, dry cloth or a dusting brush to gently remove dust from the shiplap’s surface to prevent the buildup of particles that can dull its appearance.
- Wiping Down: For a more thorough cleaning, wipe it down using a damp soft cloth or sponge. You may also use a mild cleaning solution.
Ensure the cloth or sponge is only slightly damp to avoid excess moisture on the wood.
- Stain Removal: If there are any stubborn stains or marks on your white shiplap, consider using a gentle cleanser that is safe for wood surfaces.
Apply it sparingly and follow the product’s instructions to remove the blemishes without harming the finish.
Preventing Yellowing
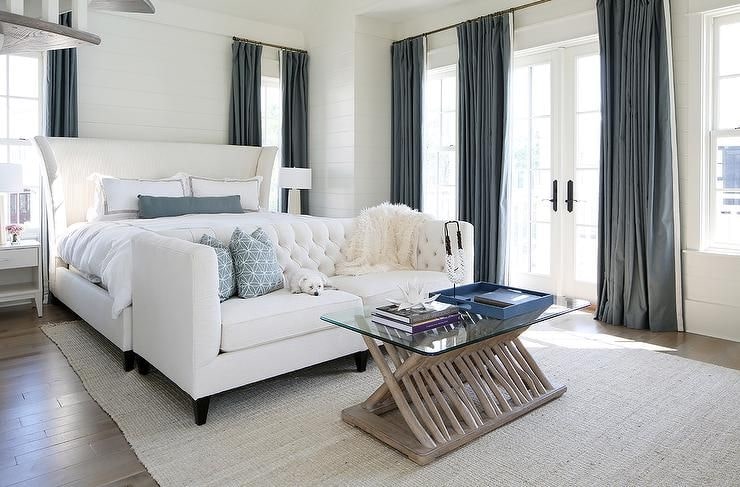
Over time, white surfaces can develop a yellowish tint due to exposure to sunlight and other factors. Here’s how to prevent your white shiplap from yellowing:
- Choose UV-Resistant Finishes: When painting or finishing your white shiplap, opt for high-quality products that offer UV resistance such as Minwax Helmsman Spar Urethane and Rust-Oleum Varathane Premium Spar Urethane.
These finishes contain additives that help protect the wood from the harmful effects of ultraviolet (UV) rays, slowing down the yellowing process.
- Curtains or Blinds: Consider using curtains or blinds to shield your white shiplap walls from direct sunlight, especially in rooms with large windows. This can help reduce UV exposure and extend the longevity of the pristine white color.
How to Repair Damaged Shiplap
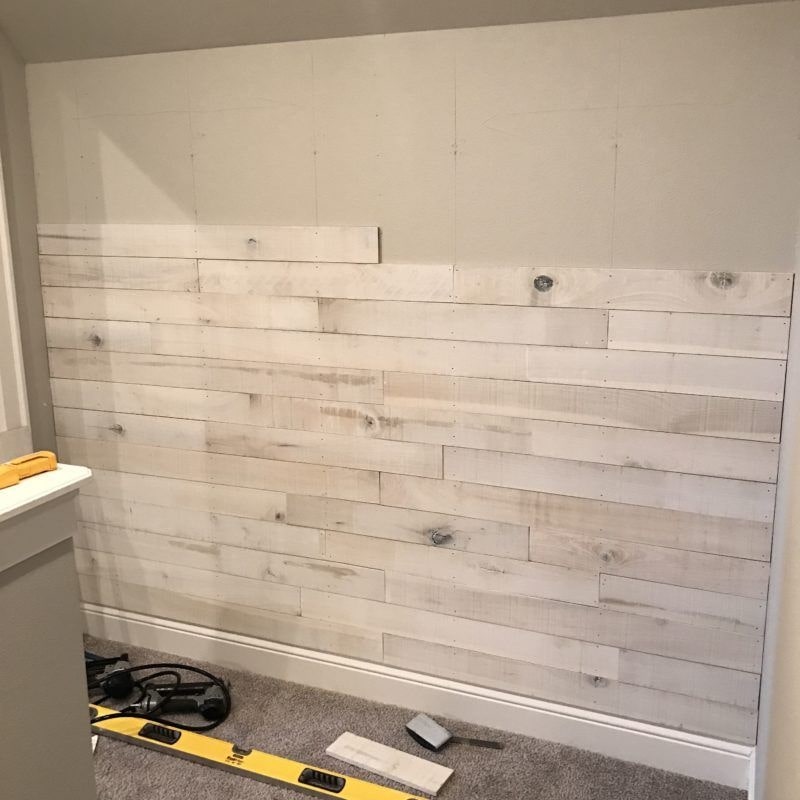
Accidents can happen, and individual shiplap boards may become damaged or need replacement. The good news is that repairing white shiplap is relatively straightforward.
Here’s how:
- Inspect your shiplap walls for damaged or deteriorating boards. Look for cracks, splits, or boards with significant wear and tear.
- Carefully remove the damaged boards from the wall. If the shiplap was attached with nails, carefully remove the nails or use a pry bar to gently detach the boards.
- Once the damaged boards are removed, replace them with new ones of the same size and type. Ensure they fit snugly and align with the existing shiplap pattern.
- Attach the new boards securely to the wall using nails or adhesive, following the same method used during the initial installation.
- Fill any nail holes and touch up the finish to match the surrounding shiplap.
White Shiplap: DIY or Hire a Professional?
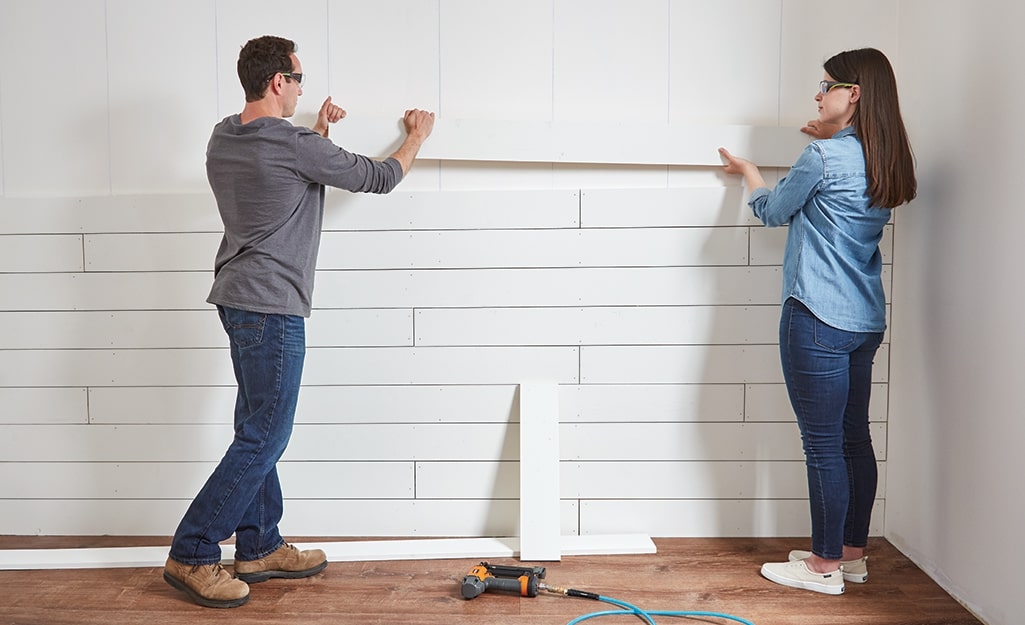
When installing white shiplap, you can do it by yourself or hire a professional who knows how to do it. Here are a few facts to help you decide:
Pros and Cons of DIY Installation
Pros
- Cost-effective
- Customization
Cons
- Requires time and patience
- Potential for errors
Pros:
- Cost-effective: Doing it yourself can be budget-friendly since you won’t incur labor costs. You can purchase the materials and tools and potentially save money.
- Customization: DIY allows for creative freedom. You can choose the shiplap style, paint or finish, and design layout that best suits your vision.
Cons:
- Requires time and patience: Shiplap installation can be time-consuming, particularly for beginners. It requires careful measurement, leveling, and precise attachment of boards.
Patience is needed to achieve a polished result.
- Potential for errors: If you lack experience in carpentry or home improvement, learning how to do it the first time can be difficult.
DIY projects are prone to errors, such as uneven boards, visible nail holes, or improper alignment. Mistakes can be costly to rectify and may affect the final appearance.
Why Consider Professional Installation
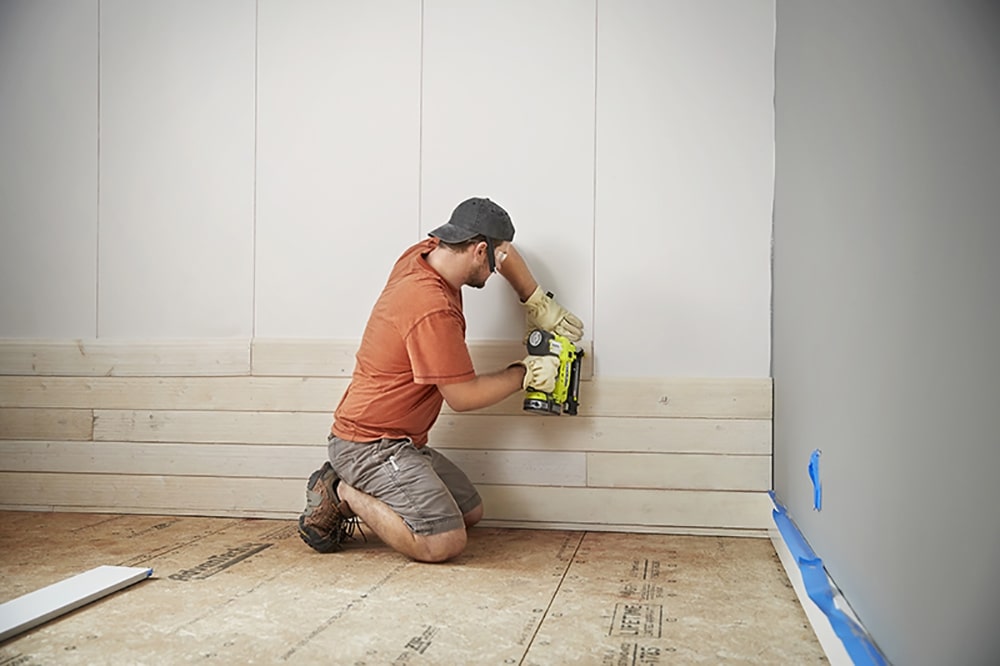
Here’s why you should consider professional installation of white shiplap:
- Flawless Finish: If you desire a flawless and professionally executed finish without imperfections or visible mistakes, hiring an experienced shiplap installer is advisable.
- Time Efficient: DIY projects demand time and attention to detail. If you have a busy schedule or lack the time to dedicate to the project, a professional can complete it efficiently.
- Expertise: Complex installations, intricate designs, or unique architectural features may require the expertise of a professional who can easily work on these challenges effectively.
Finding a Reputable Shiplap Installer
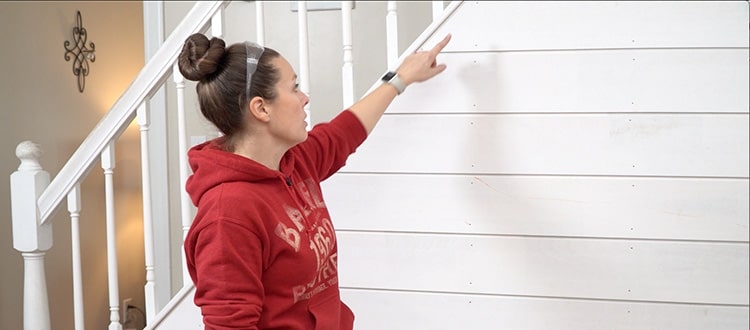
When considering professional installation, follow these steps to find a reputable shiplap installer:
- Research Local Contractors: Search for local contractors or carpenters with experience in shiplap installation. Check their websites or listings to gather information.
- Read Reviews: Look for online reviews and testimonials from previous clients. These can provide insight into the quality of work and customer satisfaction.
- Ask for References: Don’t hesitate to ask potential installers for references from past projects. Contact these references to inquire about their experiences and the quality of the work performed.
- Request Quotes: Obtain quotes from multiple installers to compare pricing, services offered, and project timelines. This allows you to make an informed decision based on your budget and requirements.

