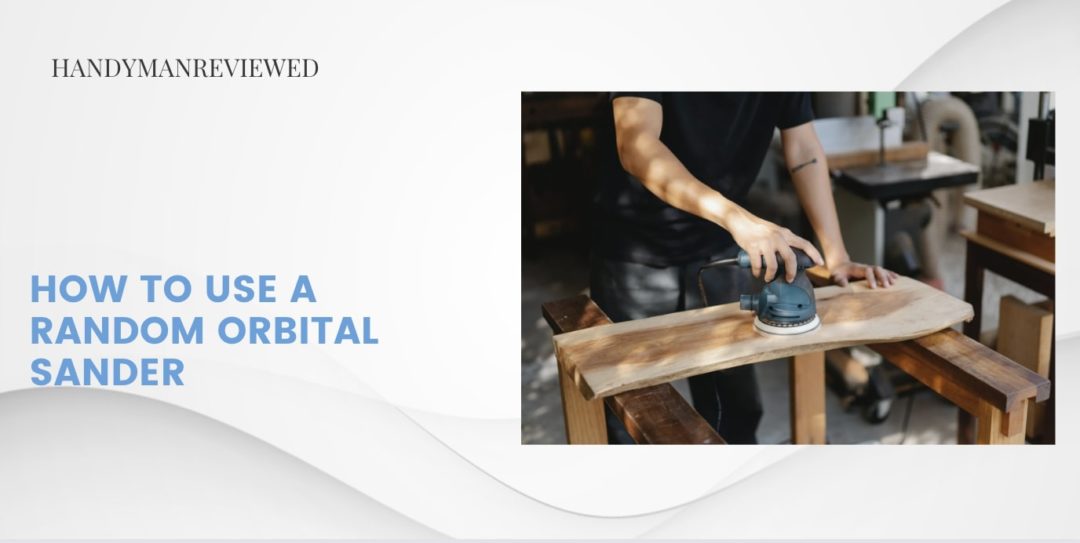
Compared to manually sanding a wood surface, a random orbital sander helps you achieve a smoother and more professional finish. Along with this, the tool is very efficient and easy to use, making it a great investment for frequent woodworkers.
In this guide, you will learn how to use a random orbital sander for your carpentry project. By following the steps given below, it won’t take long for you to sand with it like a pro.
Step 1: Prepare the Wood Material

Secure the material you need to sand on the work surface with clamps. They ensure that the wood won’t move as you polish its surface, which otherwise may fall and injure the person.
Then attach the ventilation system to your orbital sander. Its purpose is to collect the sawdust as you work.
Step 2: Adhere the Sandpaper

The next step is to attach the sandpaper to the random orbital sander.
But before that, you should consider the type of sandpaper you will use. Think about the kind of finish you want to achieve—whether a bit rough, mid-smooth, or glass-surface smooth?
To get a super-smooth result on the material, you would usually have to use a series of fine grits, going from the least smooth to the most smooth, in sanding the surface.
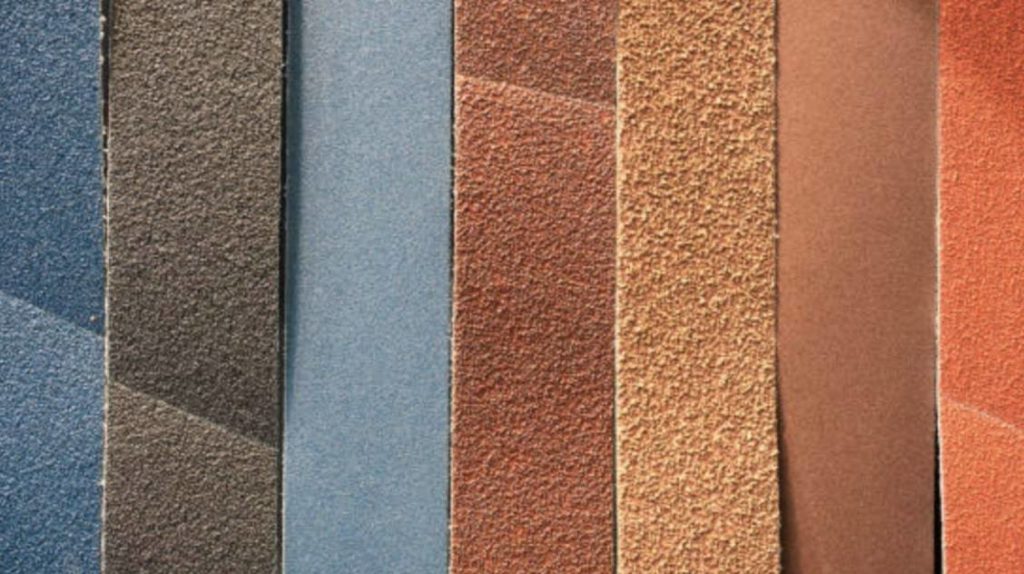
Speaking of which, sandpapers differ in texture as measured by grit or the size of the abrasive particles.
The lower the grit number, the coarser the abrasives and finish it gives; the higher the grit is, the finer the abrasive and the smoother the finish. There are those in the 20 to 36, 40 to 60, and 150 to 180 grit categories.
Once you’ve picked a sandpaper, peel off its back paper and stick it to your sanding device. Also, put on your safety goggles and mask to protect yourself from the flying sawdust when sanding.
Step 3: Sand the Wood Material

Turn on the sander and get it up to max speed before putting it on the wood surface. Now, move the sander along the wood grain with even pressure each time for a smooth finish.
Remember to gently maneuver the sander. Don’t push it hard against the wood board or object, or it might be dented or scratched.
Concerning the material’s edges, hold your sander over them until a third of the sanding paper projects outward.
Once you’re done with sanding the surface and edges, switch off the random orbital sander. But if you want a smoother finish, you can attach sandpaper with a finer grit and just repeat the process.
Step 4: Clean up the Work Area

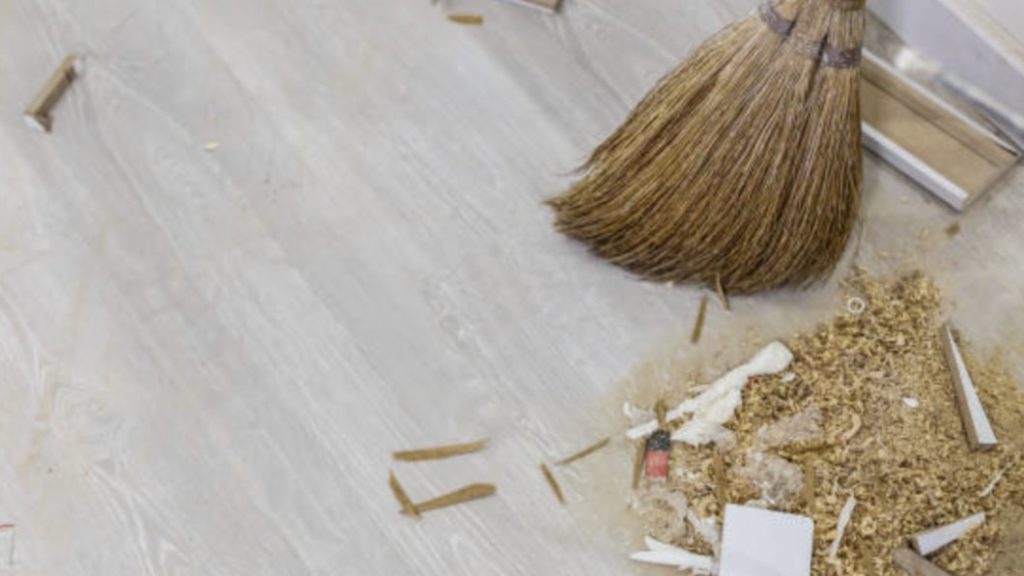
Finally, remove the lingering sawdust and debris with a tack cloth. Then clean up the worksite with a broom and dispose of the rubbish.
And the sanding work is all done—that’s how you should use a random orbital sander! So there won’t be a need to call a carpenter to do it for you.


