You’re reading this article perhaps because you need to paint your entire house altogether or one of the sections of your house looks worn and you are the one that endeavors to paint it.
Obviously, it’s a large work from pressure cleaning to the final coating. But you don’t have to do it all—you can focus on one area and work on that which we think is more productive.
But regardless of your project, the painting process remains the same. Below we will go over how to paint your home to give it a fresh pop of color or a new lease on life.
So, let’s get started!
1) Prepare Your Home’s Surfaces
Before you even grab your roller or brush, you have to prepare the surfaces on your house for painting. That’s since ninety-five percent of all good painting starts with a good surface.
There’s a lot of work to be done. You can start inspecting the walls and trims for any chips, peels, or cracks.
Check the house for mold, mildew, and moss. You can kill them by spraying them with a chlorine bleach solution.
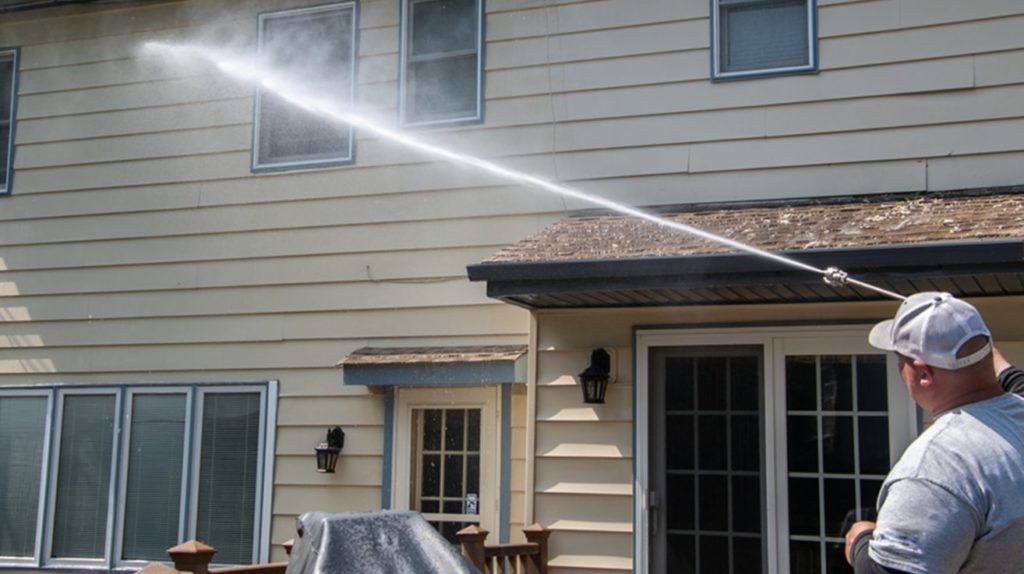
Once done, pressure-wash your house from top to bottom, keeping it nice and smooth. This is vital in order to remove the accumulated dust and dirt as well as any loose paint.
2) Patch and Caulk the Walls

Patch up any holed or chipped stuccos with a new one to make the surface flat. Give them at least a month to cure completely or the paint won’t be able to stick and will appear dusty or chalky.
If you’re in a rush to paint, we suggest spraying the patched stuccos with a hose daily. They can be ready in about 7 to 10 days as a result.
Seal up the gaps and cracks along the joints of the house exterior. Among them are those along fascia boards, window frames, door edges, and moldings.
Next, you should carefully sand the walls, doors, and trims to give it a polished surface. This will make them ready for painting.
3) Apply a Quality Primer
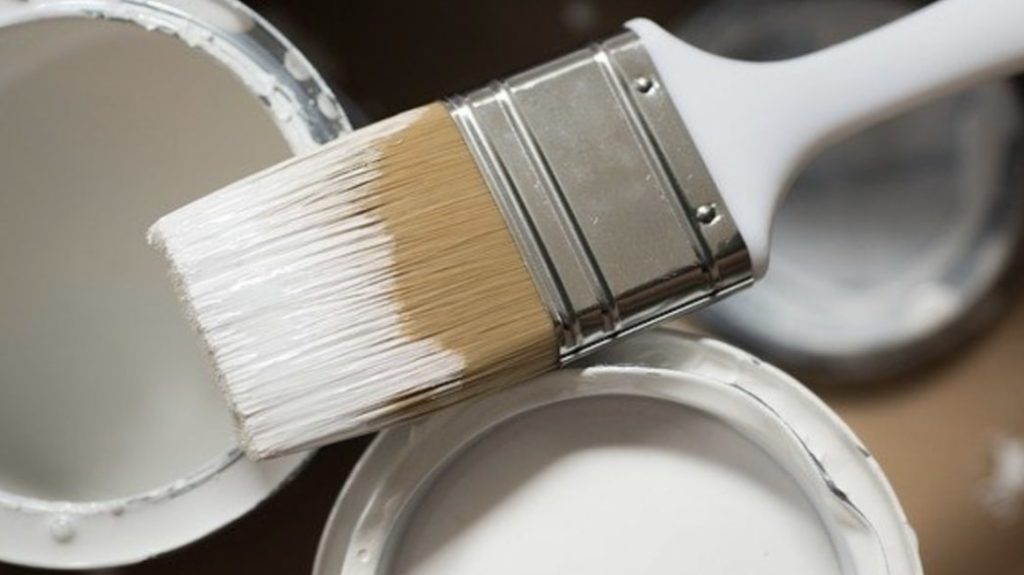
A primer or sealer needs to be applied over the old paint and dried until it’s ready to accept the new paint. These are available in many kinds and you have to use one that fits your situation.
For instance, if you have wood or vinyl siding, a latex primer will work best. For stucco that hasn’t dried completely, a hot stucco primer is an ideal product, and for chalky walls, use a chalky wall sealer.
As soon as the primer dries, you are ready to paint. Most primers need about 24 hours to dry completely, while others take as little as 30 minutes before you can start the paint job.
Still, many experts recommend waiting for at least a day for the primer to dry—no more, no less—for the best painting results.
4) Choose the Best Paint Products
Paint consists of three elements: the pigments that provide the color, binders that help them adhere to the wall, and solvents that allow the paint to spread easily.
Not all paint products are good. Low-quality ones are just good in their burst of color, others are well-balanced, whilst a handful of them produces beautiful and durable tint that lasts long.
Even though you have to spend a higher amount on quality paints, they will be worth it. They would definitely pay off, which you can see in the final look of your house and as the years go by.
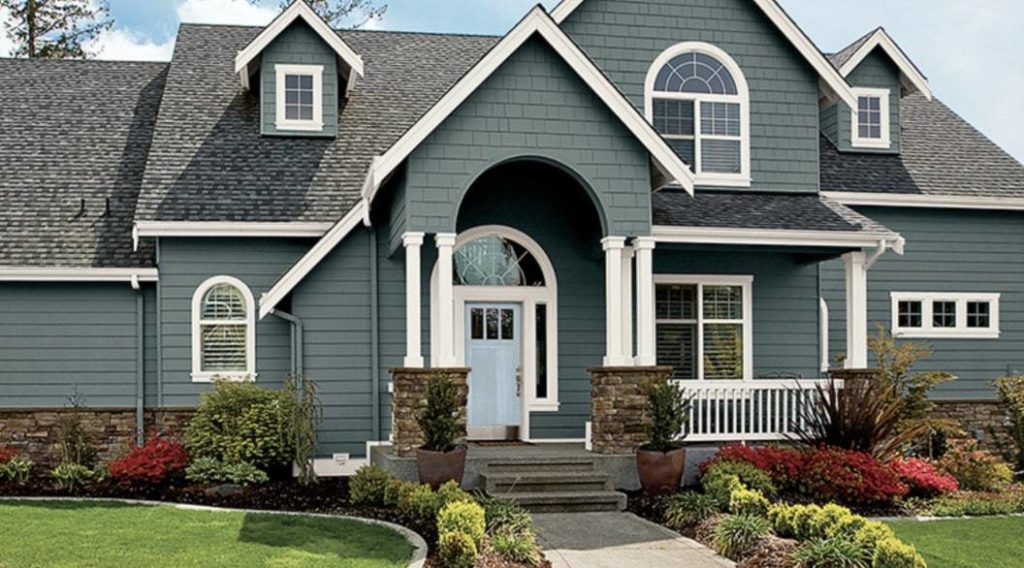
5) Pick Picture-Perfect Colors
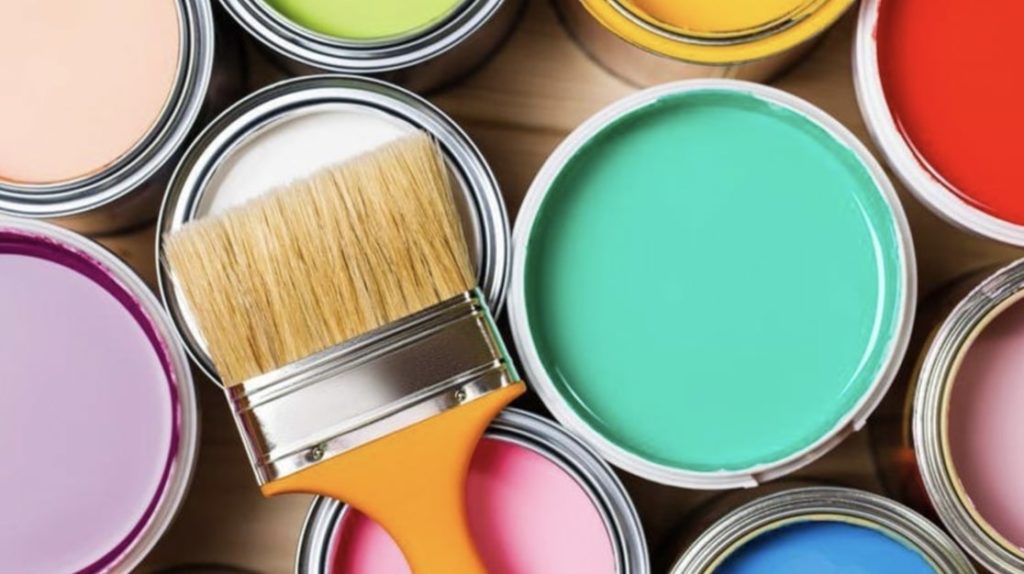
Given the host of colors available, you may not know where to start at all. But you could talk to your family or parents to get some advice or ideas.
You may also like to cruise around your neighborhood and look at the different paint colors of different houses, including their roofing and how it matches with the whole house decor.
If you’re not entirely sure, swatch potential hues to your wall surface and come and look at them during different times of the day. Remember, bright colors fade faster than modest colors.
6) Spray and Roll On the Paint
After you got the right color combinations, it’s painting time! For exterior house painting, it’s best to use a spray and back-roll method.
This requires two people to perform. One will be on the ladder spraying paint on surfaces, and the other follows closely behind and quickly rolls on the paint with a long pole tool.
Once the first coating is done and they have dried, do another round of coating. This gives the paint a stronger, fresher look which can stay around for a long while come rain or shine.
Make sure to use the proper techniques when painting your property to avoid any streaks.
Speaking of which, the best climate for painting your house is a cool and dry day. Don’t work when it’s too cold or hot because then the paint will be ruined.
If you aren’t too confident doing everything yourself, though, know that you can always opt to hire professional painters.
7) Finish the Work
Finish the rest of the painting work on your house. This includes the doors and windowsills, molding, fascias, shutters, and other components.
Only use a quality brush and keep your hand steady as you move on to paint one section to the next. Moreover, take your time and do the work as professionally as you can for a fantastic result.
And that concludes our guide on painting a home. By following our tips, you can be on your way to getting your desired new colors for your house.
We’re very excited about your project and wish you all the best. If you have any questions or comments, please send us a message and we’ll get back to you shortly!