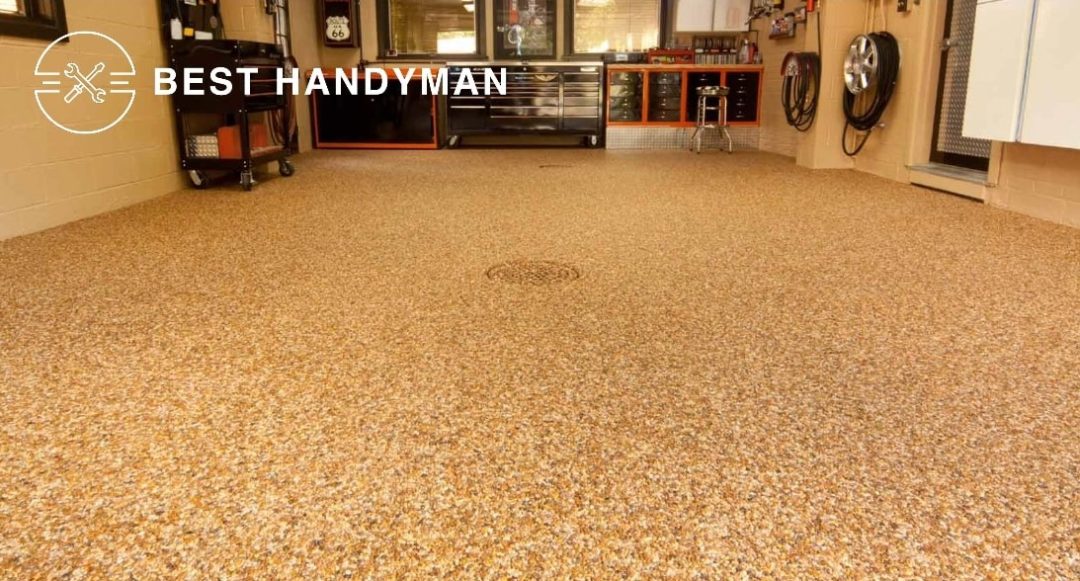
Natural stone flooring is a luxurious and timeless choice for homeowners who seek a unique and natural aesthetic for their interior and exterior spaces. It’s known for its durability, elegance, and ability to add a touch of nature’s beauty to your home.
In this article, we will discuss everything you need to know about natural stone flooring, such as its pros and cons, how much it costs, and how to maintain it.
What is natural stone flooring?
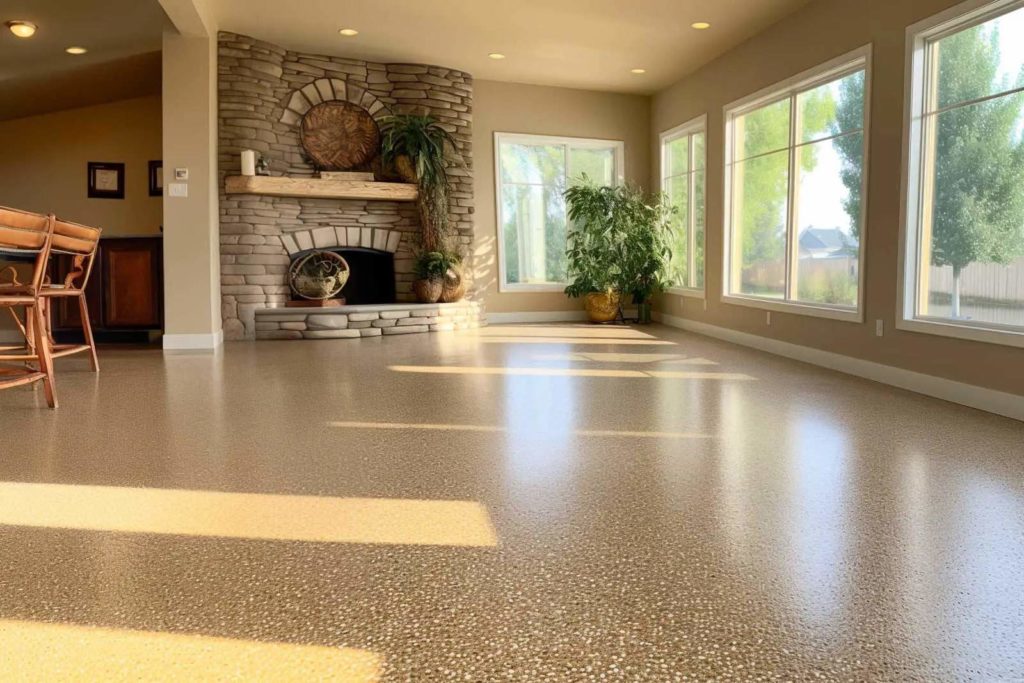
Natural stone or epoxy stone flooring uses epoxy to bind and seal natural stones.
It’s a great option if you’re in search of a low-maintenance way to use the beauty of natural elements in your home. It’s also suitable for both indoor and outdoor spaces within your home.
Epoxy stone flooring can be conveniently installed over existing flooring surfaces. While many individuals choose to install it over concrete, it’s also possible to lay it on plywood subfloors.
This versatility makes it an attractive choice, particularly if your subfloor or concrete already has some cracks, as the tiny pebbles within the epoxy can effectively fill minor cracks.
However, it’s still important to fix any major damage before installation.
Pros & Cons of Natural Stone Flooring
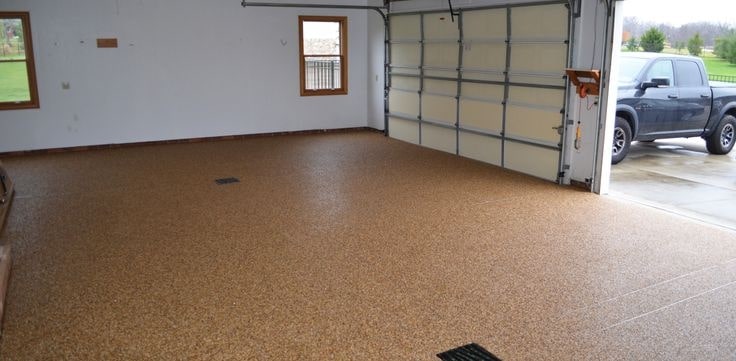
Pros
- Resistance to moisture
- Durability
- Low maintenance
- Cost-effective
Cons
- Installation duration
- Chemical fumes
- Slippery when wet
Pros
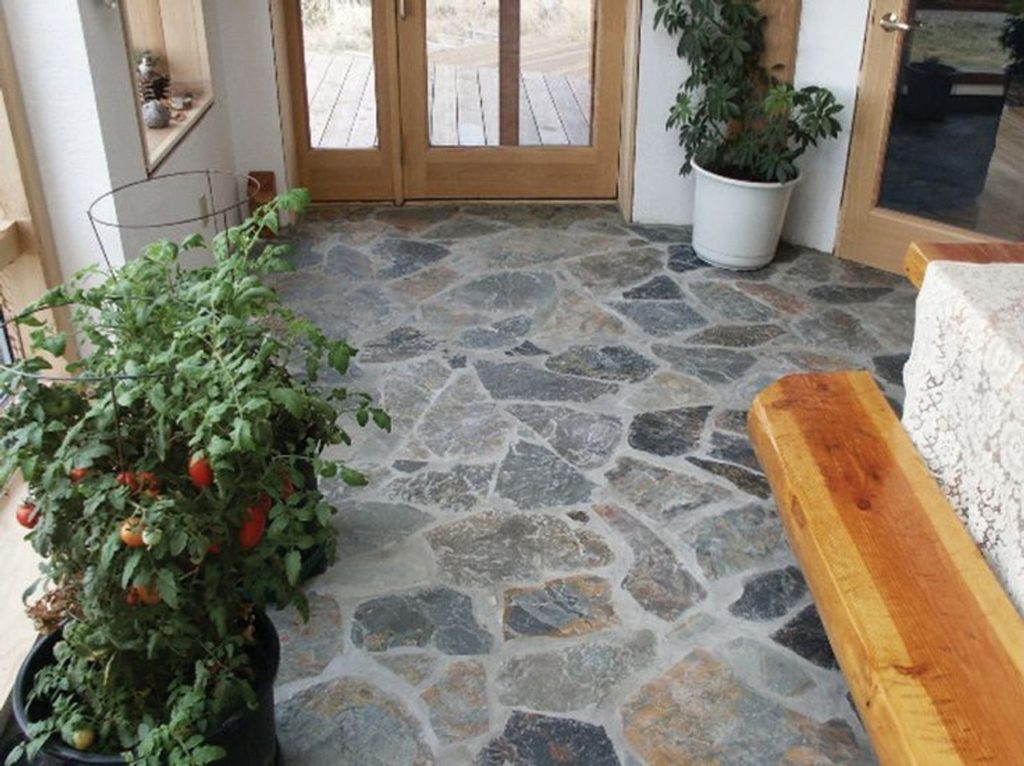
- Resistance to Moisture: Epoxy creates a surface with excellent moisture resistance, which makes it a favorable choice for different settings, including pool areas, patios, driveways, walkways, garages, and basements.
When installing epoxy pebble flooring outdoors, you can opt for UV-rated and weatherproof epoxies that enhance durability. UV protection ensures the flooring retains its vibrant colors over time.
Since it’s moisture resistant, it means you need not fret about water accumulating on the surface, which can lead to mold growth and other forms of damage.
- Durability: When installed correctly, epoxy stone flooring can have a long lifespan and resistance to mold growth.
Unlike carpet and tile, epoxy stone flooring can endure challenging situations involving chemical or oil spills, high temperatures, and extreme fluctuations in climate.
- Low Maintenance: Epoxy stone flooring is nonporous, which means there won’t be any concerns about liquids penetrating its surface to form mold growth or discoloration.
Also, any loose stones or areas with minor chips can be effortlessly fixed using an epoxy repair kit.
However, it’s important to note that epoxy flooring can be damaged by heavy objects. Dropping these can rupture the seal and result in major cracks.
If this happens, you might have to replace large sections of the epoxied area.
- Cost-Effective: Stone epoxy flooring installation typically ranges from $3 to $7 per square foot, covering both materials and labor costs.
In comparison, carpet installation falls within the range of $3 to $11 per square foot, while tile installation ranges from $15 to $20 per square foot.
Cons
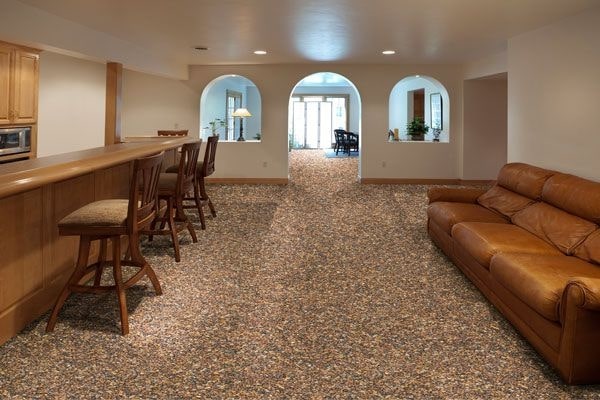
- Installation Duration: The time required for installing this type of flooring can vary depending on the location, whether it’s indoors or outdoors.
Typically, the installation process spans a period of two to six days, during which the epoxied area cannot be used. Nonetheless, many individuals find this time and financial investment to be highly worthwhile.
- Chemical Fumes: The emissions produced during the installation can potentially lead to health issues.
If you are installing the epoxy flooring on your own, remember to use appropriate safety gear to safeguard against inhaling these harmful fumes.
- Slippery When Wet: Although this type of flooring tends to have more slip resistance compared to others, it can be slippery when wet.
How much does it cost to install natural stone flooring?
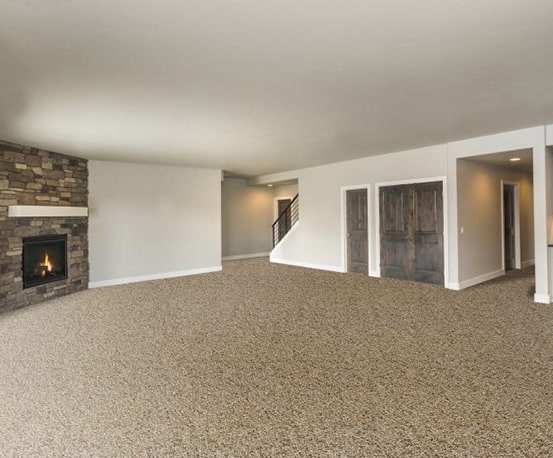
Typically, the materials required for the installation of epoxy stone flooring are priced between $1 and $2 per square foot. The overall expenses, including labor, usually fall between $3 and $7 per square foot.
It’s worth noting that other factors, such as a pricier pebble or stone, may contribute to an increase in the overall cost.
For precise cost estimates, it’s advisable to consult with a contractor in your local area, as labor and material rates can vary depending on the location.
Factors that Affect Natural Stone Flooring
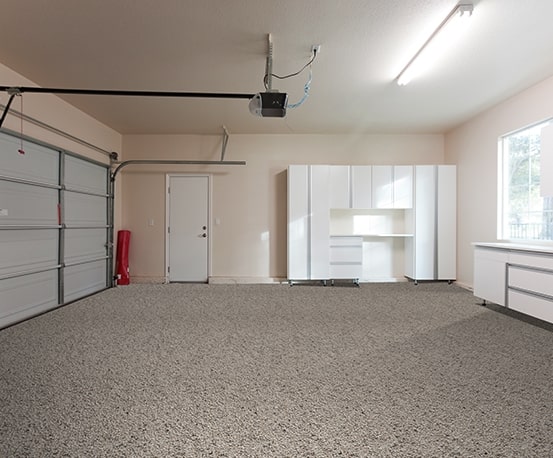
- The Quality of Materials Used: The lifespan of epoxy flooring can vary based on several conditions such as the materials used in the installation process.
Substandard materials can compromise the durability and functionality of the flooring. Therefore, it’s best to opt for premium-quality epoxy coating.
- Concrete Surface Preparation: Another critical factor that can affect the lifespan of epoxy flooring is the preparation of the concrete surface.
Prior to the epoxy application, it’s important to clean the concrete substrate to eliminate all traces of dust, dirt, oil, and other contaminants.
Also, addressing any cracks or other imperfections on the concrete surface is important to prevent any potential damage to the epoxy floor’s structure in the long term.
- Expertise and Skills of Installers: Using quality materials will just go to waste if there are no experts to do the job.
It’s very important to entrust your flooring projects to individuals with a wealth of knowledge and proficiency to carry out the task.
This not only guarantees a flawless application but also ensures the strength and resilience of the epoxy floor.
- Environmental Conditions: It’s essential to consider the impact of environmental conditions, which play a significant role in the longevity of epoxy flooring.
High temperatures can trigger thermal expansion and contraction of the flooring material, potentially leading to issues like cracks or delamination, where it fractures into layers, over time.
Additionally, the high humidity levels can contribute to moisture-related problems that can harm epoxy-coated floors.
How to Install Natural Stone Flooring
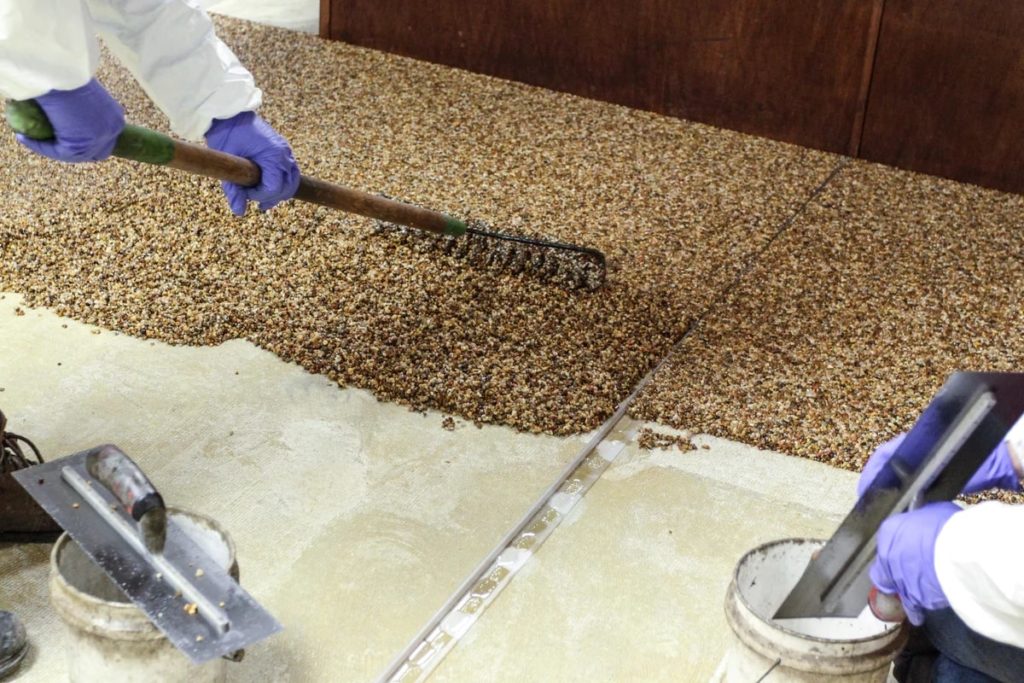
The installation of natural stone flooring is a meticulous process that requires the expertise of a professional. However, it can be a DIY project if you have some prior experience.
- Prepare the installation surface: Epoxy stone flooring can be applied over a concrete or plywood subfloor. Both surfaces need to be cleaned before installation.
This may involve removing adhesives or using methods like pressure washing to ensure the area is free from debris, oils, chemicals, or any substances that could interfere with the epoxy.
- Apply the primer: For both concrete and plywood subfloors, applying a primer is essential to seal and waterproof the surface.
To ensure compatibility between the primer and epoxy, consult the epoxy manufacturer’s recommendations and allow the primer to dry before proceeding.
- Mix the epoxy and stone: Follow the epoxy manufacturer’s instructions to mix the epoxy correctly. Afterward, blend the stones with the epoxy and ensure full coverage of the stones with the epoxy mixture.
- Apply the epoxy mix: Pour the mixture in small batches and use a trowel to evenly spread the stones across the floor. Keep an eye out for any bare patches, and fill them in with the epoxy mix as necessary.
- Let it dry: Follow the manufacturer’s guidelines for the drying period, which can vary depending on the climate and location. Outdoor installations often require more time for drying. During this phase, avoid using the area.
- Clean the surface: Remove loose pebbles or dust by either blowing or sweeping the surface.
- Apply another epoxy coat: Use a roller to add another layer of epoxy to the area, excluding pebbles unless you intend to entirely cover the floor with them.
- Allow the top coat to dry: Refrain from using the area until the top coat has completely dried. Keep in mind that the drying time for epoxy can be longer in humid climates.
Maintenance
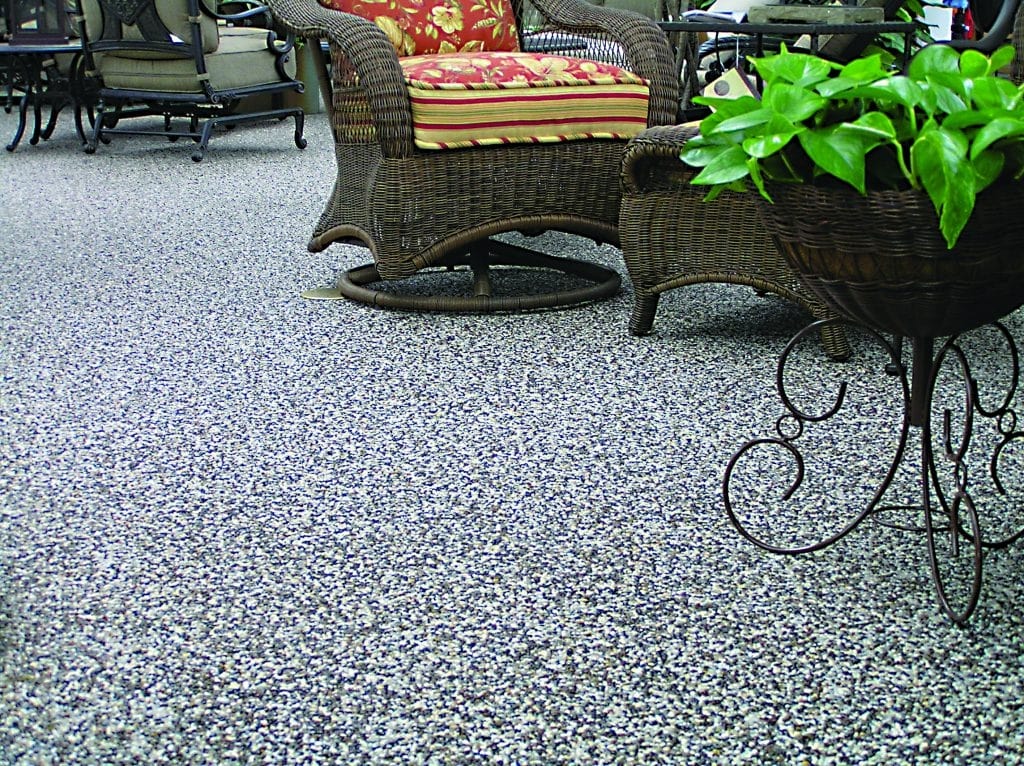
To keep your natural stone flooring looking its best, consider these maintenance tips:
- Keep your floors clean: Maintaining the good condition of your epoxy floor is simple if you clean it regularly. Dirt and grit can build up and cause scratches and surface damage.
Use a vacuum or broom to remove debris and dirt. If you clean consistently, which can be as simple as once a week, taking care of your epoxy floor won’t be time-consuming.
- Perform deep cleaning: In addition to regular cleaning, it’s a good practice to do a deep clean every two weeks.
Begin by sweeping or vacuuming to remove dirt and debris, as you would during a regular cleaning. Then, use a microfiber mop with a solution of ammonia diluted in hot water.
- Protect your floor with mats: Most damage occurs from scratches or gouges caused by heavy equipment, furniture, or walking on dirty floors.
Placing welcome mats at entryways can prevent dirt and grime from being tracked into the room.
In garages or areas with heavy equipment, consider using mats to provide an extra protective cushion against potential damage or scratches.
- Choose cleaning products wisely: Avoid solutions containing acids, like citrus or vinegar, as they can remove the epoxy’s glossy finish.
Also, steer clear of soap-based cleaners, which can leave a residue that dulls the epoxy’s shine and creates a slippery surface.
A homemade cleaner of two to three ounces of ammonia mixed with one gallon of water works well for all types of epoxy floors.
- Remove and prevent stains: To eliminate stains, gently scrub with warm water using a soft brush, pad, or kitchen sponge.
Avoid abrasive tools like steel wool or harsh scrubbers, as they can harm the floor’s surface. Even rust stains can usually be gently removed with a kitchen pad or sponge.
- Clean spills right away: Although epoxy floors are typically waterproof or water-resistant, it’s important to clean up spills immediately.
Water can make the floor slippery, and chemical spills or dark liquids might cause staining and permanent damage.
For garage or work area epoxy floors, be particularly vigilant for spills like gas, paint, or solvents that can stain or damage the surface. Clean these spills with a shop cloth, followed by plain water or a gentle cleaning agent.
- Repair scratches or gouges right away: For minor surface scratches, apply a matching epoxy floor polish with a dry cloth and rub it in until the scratches disappear. Buff the floor with a clean cloth for a consistent shine.
For deeper scratches, wet the area, gently sand the scratch and surrounding area with fine-grain sandpaper, rinse, let it dry, and apply polish in circular motions to restore the appearance.

